RSS Feed

Happy Halloween everyone! What a fun time of year. All the decorating, treats, parties. It's so great! I've heard about VIPKID teachers dressing up for their students on Halloween, which sound so fun! I decided to add my own fun to my classroom by creating a special background for the holiday.
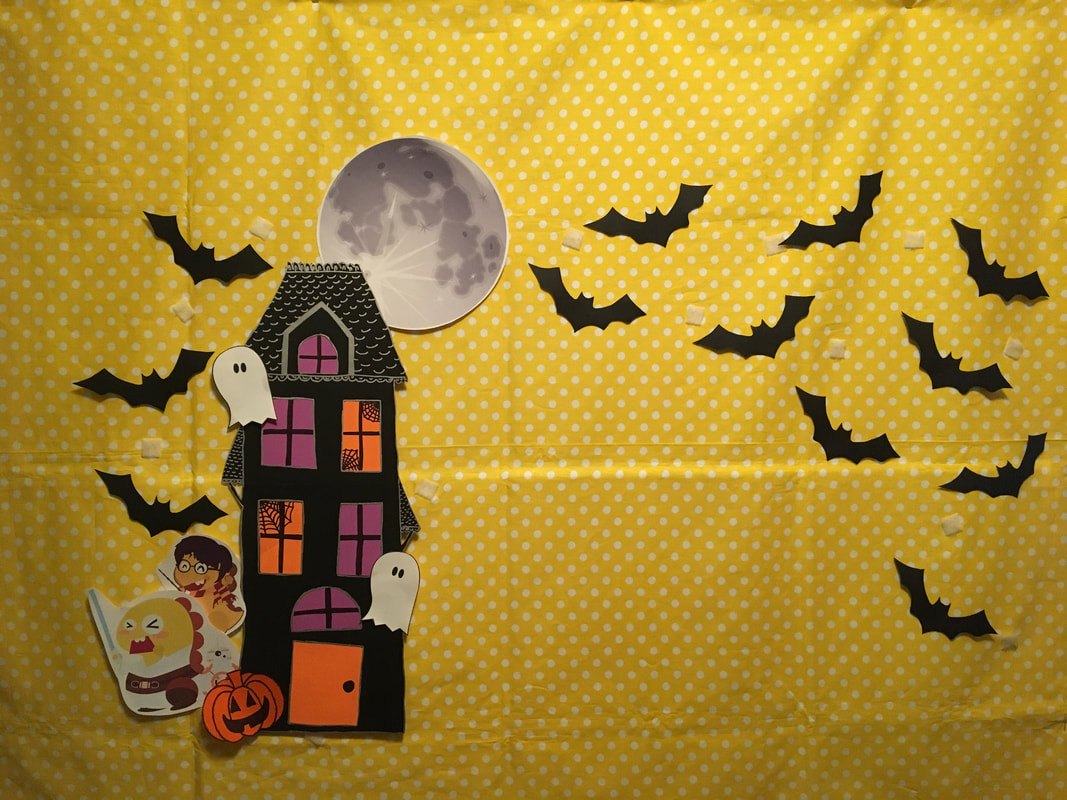
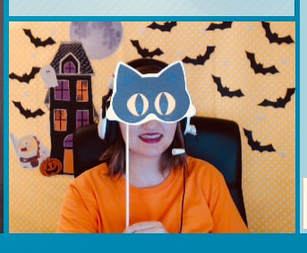
Ta-da!! I actually tried it out today for my classes, and I LOVED it. If you look at the moon, it's the same one I used for my Mid Autumn Festival background. The bats were from another project I've done recently. If you go to DIY Decor: Halloween (Part 2), you'll find the link to the site where I got these specific bats from. You can also google bat template as well if that's easier for you.
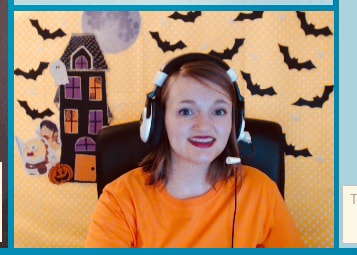
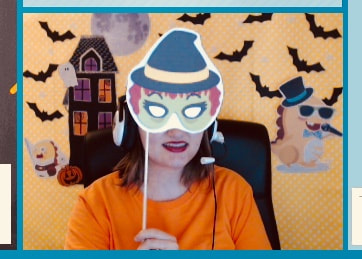
In addition to this fun background, I also found a couple of masks from a Holiday Incentives PDF file someone shared with a ton of holiday rewards on them. So what I plan on doing with my regulars is surprise them by wearing these masks right when I open the screen.
Yea, I know, I probably should cut out the holes for the eyes. I'll get to it later. But it's a fun little thing I've added. I like good surprises, and I like giving good surprises.
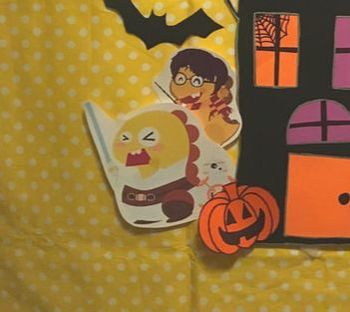
In the photo on the left, you see my Dress Dino reward. What I do at the beginning of class is I put a few things on Dino, then I bring Dino up to the screen and take off the items. That way if a student doesn't know what "to dress" means, I've demonstrated it at the beginning of the lesson. So far, its been successful with my older students (thank again for sharing friends!). This Dino is sticking onto the fabric using velcro. Next week, I'm going to show you all my tricks with velcro. If you're like me and don't have somewhere to place your cookie sheet for the student to see, or if you're finding that magnets are expensive, this is a great post! Below is another reward I used today in my classroom, all hung up with velcro. 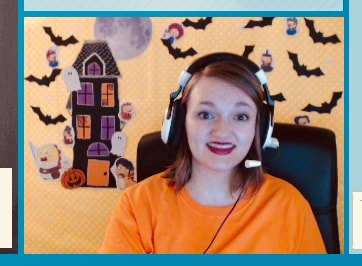
The Haunted House
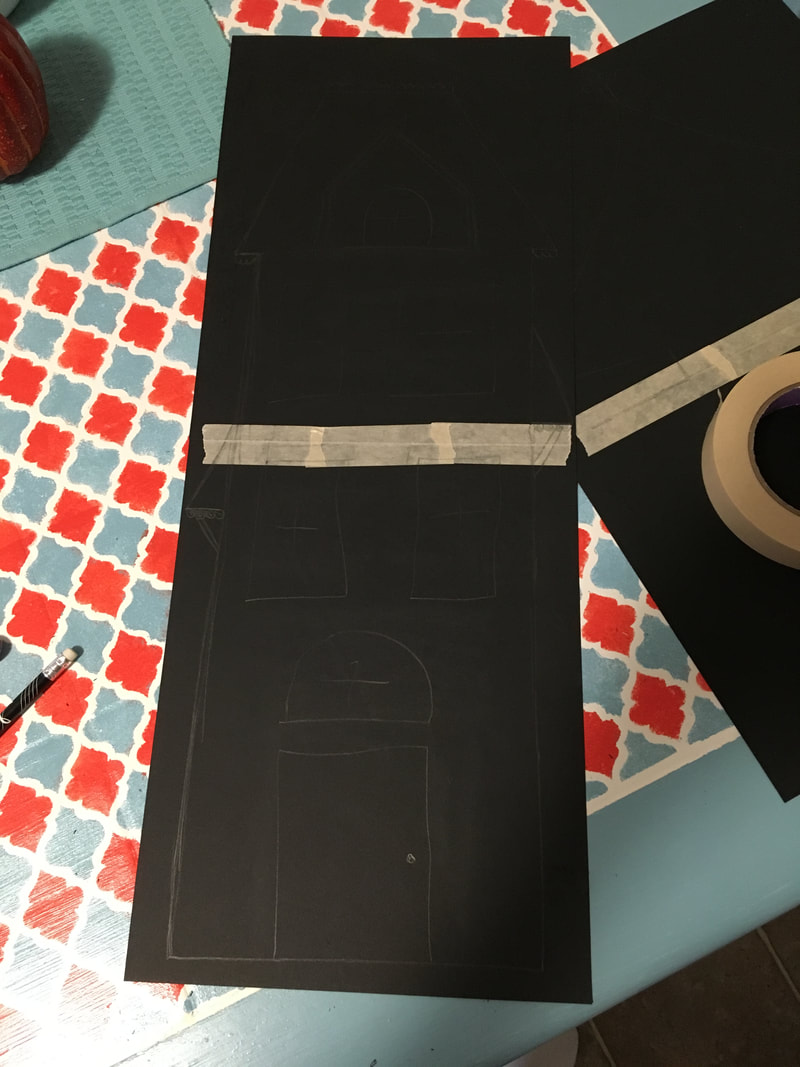
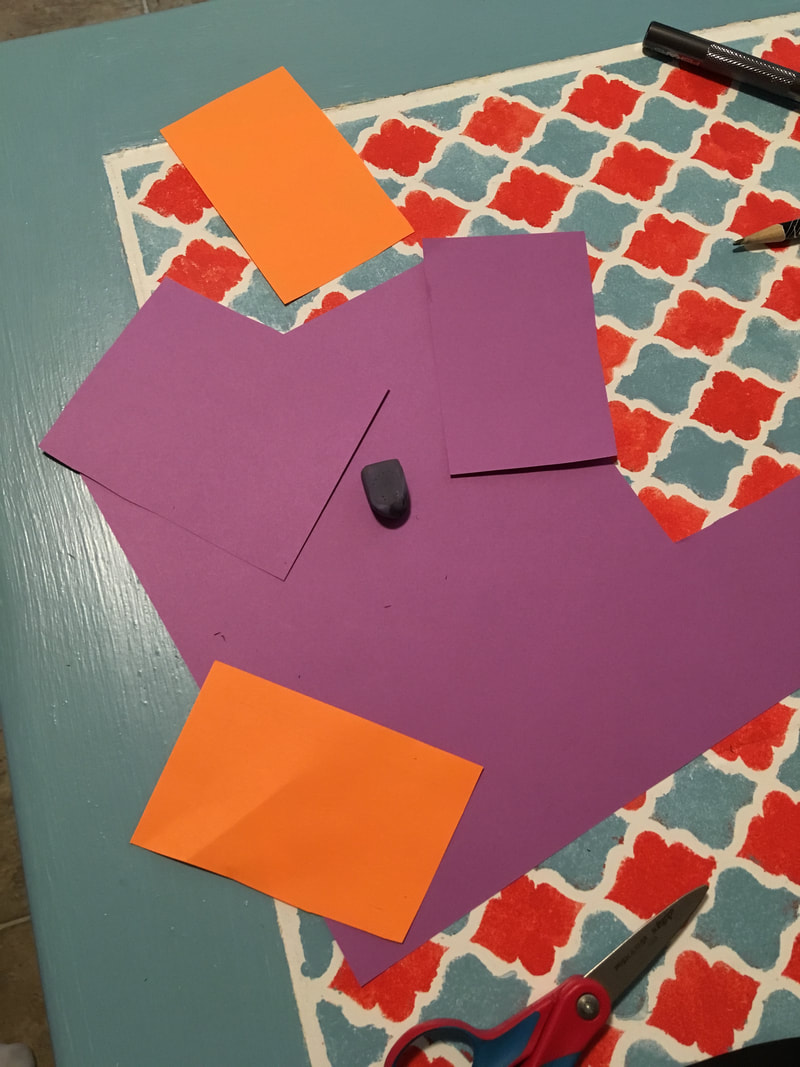
This project took a couple of hours to put together, but it's totally worth it. Very first thing I did was google cute Haunted House clipart. I was looking at different types of houses to see what kind of look I like and what fitted with what I needed. I realized that I needed something tall and skinny for my background, or else my chair will cover up most of the house for most of the lesson. So after finding a house I like and suited what I needed, I set up the papers I needed for the house and drew the template by hand.
Trust me, I am not an artist. What I love about making Haunted Houses is that it's meant to look funky and wobbly. So any artistic level can make a haunted house. I kept the photo of the house next to me for reference as I drew it out.
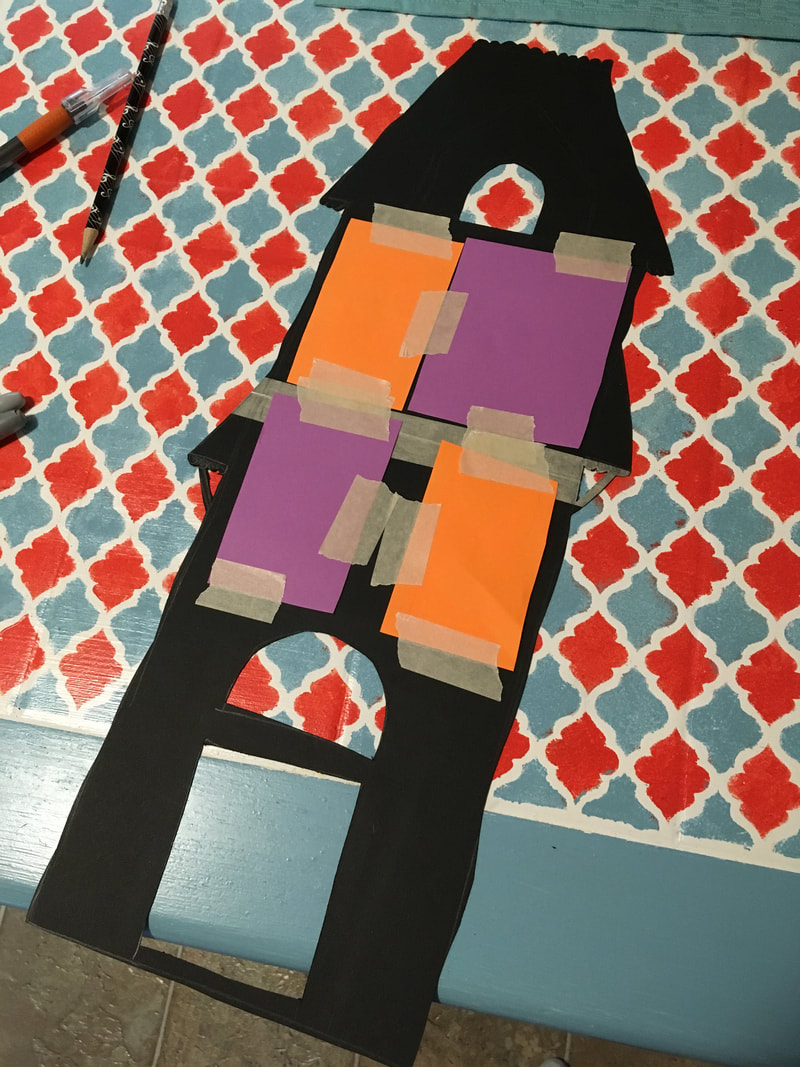
As you can see, I took 2 black papers and taped them together vertically, creating a tall and skinny house. I did not tape or glue the papers on the front together. Later on, you'll be using plenty of tape that it won't need it. After this is all done, I cut out the house. 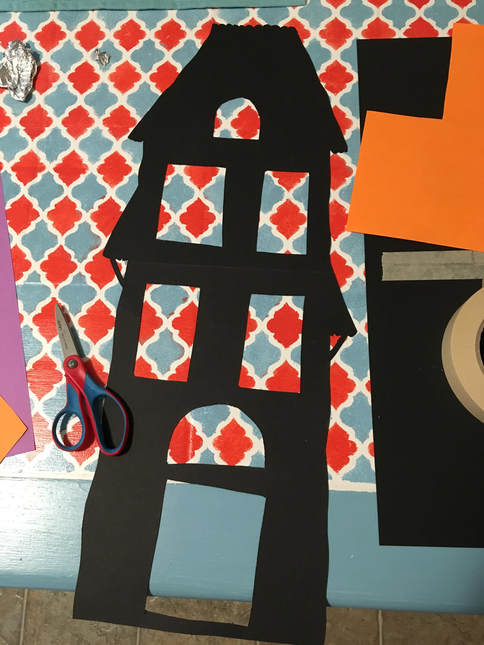
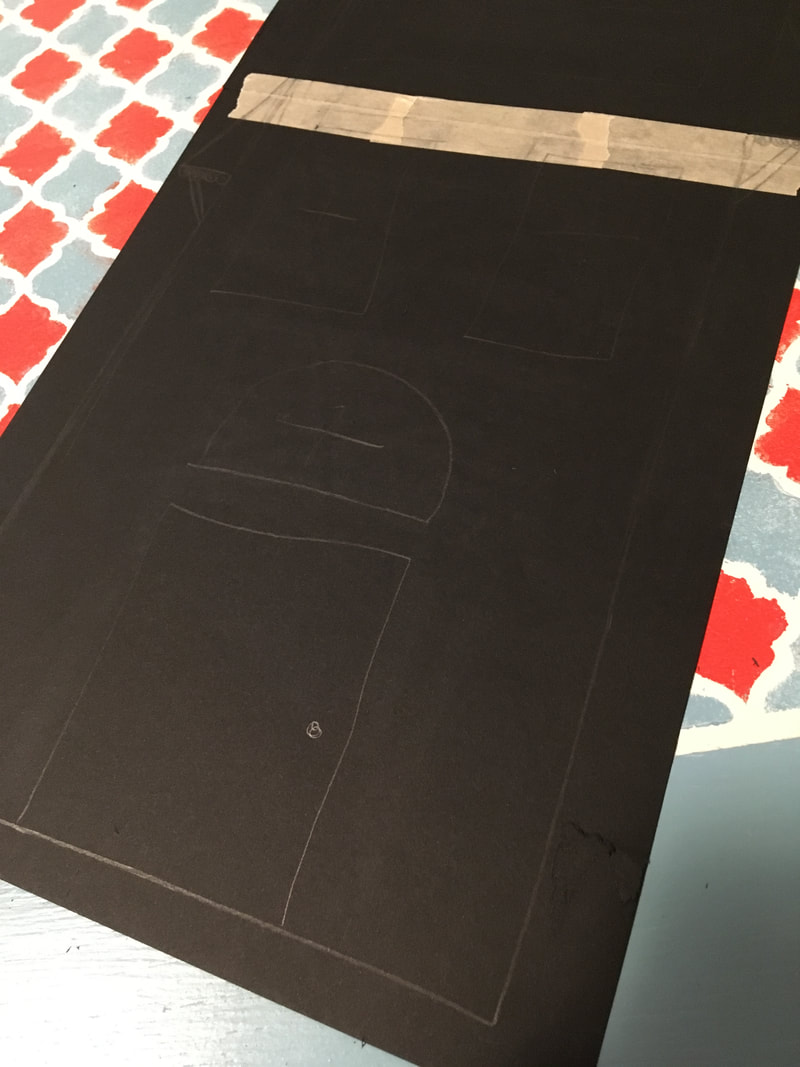
I used a craft knife to cut out the windows, door, and bar under the roofs. Craft knifes take some practice to cut perfectly straight lines. Luckily for us, this is a Haunted House. It doesn't matter how straight the windows and door are!
While you have the option of leaving the windows be and color them in yourself. I decided to add a little color to my house and make the windows and door different Halloween colors. I saw this from another haunted house as I was doing my research and LOVED it. You grab the colors you want and cut the paper to the size of your windows. To get the size I needed, I took the paper and lightly traced the edge of the window onto the paper. Then when I cut out the paper, I made it bigger than the trace I drew from the house. Then I taped it onto the back of the house.
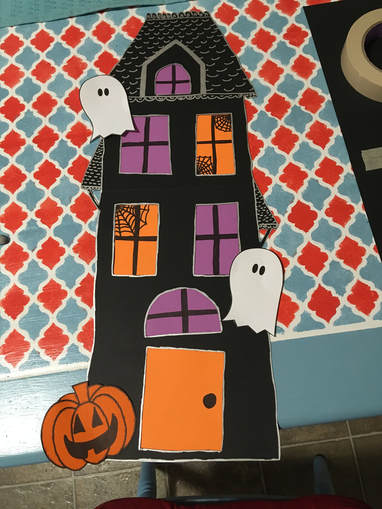
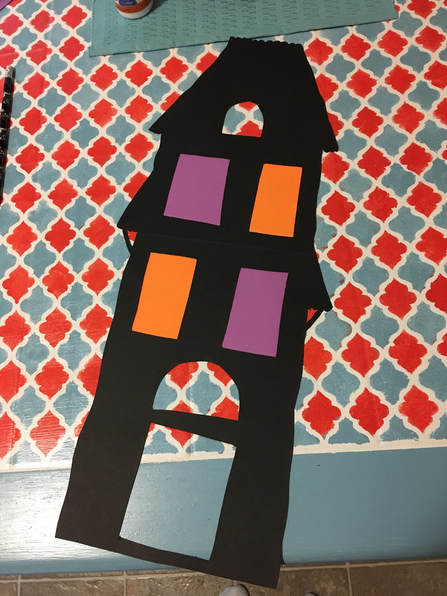
So far, very simple. The longest part of this project is coming up with your design and then adding the decorations. I used a silver sharpie to draw the tiles. I drew a line because I wanted to make a distinction between the house the roofs on the side of the house. From there, I just decided to draw an outline for the entire house, including the windows and door. I drew on the spider webs and bars to make the window pane. You can do this before you tape the windows onto the house, but I did it afterwards. Either works.
I added the pumpkins and ghosts to add to the overall cuteness of the house. I already had them from previous projects. You can find the link to download a printable for the ghosts on this page. So there you have it, my adorable Halloween background. I have several rewards created just for this background, Dress Dino, Dino costume, Halloween Hello Kitty, and I'm going to create a candy reward for my 5 year old beginners. All of these you can find on Prop and Reward Facebook groups. Because they're not my creation, I do not feel I can share them on my site. I'm sure you can find them. Thanks for reading! Like my Facebook or Pinterest page. Subscribe below if that's your thing. Again, next week, I'm going to be talking about my tips and tricks for using velcro for those classrooms where you don't have another surface to prop up your rewards. Stay tuned!
P.S. If you think this will be a fun job to join, I’d love to help you through the interview process. You can email me with the mail icon below for any questions. My referral code (for when you apply) is: 04A7J3
0 Comments
Your comment will be posted after it is approved.
Leave a Reply. |
About Me
Hello! My name is Char. Thank you for visiting my blog, CallCrafts. I am a wife and mother who LOVES to make things. Read tutorials on crafts I've created to decorate my home, for parties, and more! Read more about me in My Story.
Categories
All
Archives
April 2018
Popular Posts |