RSS Feed
|
I've recently joined a company called, VIPKids. For those who haven't heard of this company, I stay home teaching kids in China how to speak English through video conference. It's been a great opportunity and I've been having so much fun.
I teach kids ages 5-12 and I have to provide my own props. These include toys, stuffed animals, and rewards. With everything I'm going to do to make my classroom fun, I'm going to be sharing here on my blog. Starting with this PVC Pipe Stand my husband and I created for my classroom. Here we go!
When I say, "classroom" I mean the background the students see during my lessons. They want teachers to create a welcoming, educational environment. They don't want the students to see your house. Makes sense. I could have easily used my laptop to teach and then just set up some space against a wall, however, my husband has a REALLY comfy chair, a nice headset, and his computer is connected to the ethernet (in order for conferences to work, and to get the job, you need a headset and good running internet).
After some debate, my husband and I agreed using his computer would be the best option for this job. Plus my husband is a gamer and he's always wanted a green screen. It was a great compromise. 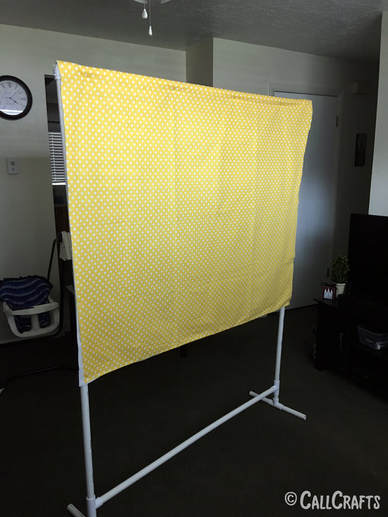
The size of the frame will depend on what size you need. We needed something 5'x4'. So the first step is to measure. How big does it need to be to do the job? I found a photo from Bible Money Matters with a blueprint I based my stand on. I just changed it so it fitted the size I needed.
We only needed to buy 3 pipes for the job. We asked someone to cut the pipes there and we were on our way! The pipes and joints cost us $16 (as I am not a professional and just writing about my experience, this may not be the amount you will pay). Next we needed fabric. We bought a green fabric for the green screen and a fun, yellow fabric for my classroom background. In my research, I read that any kind of green will do, but the more obnoxious it is, the better. We also bought white fabric to place behind our colored fabric. This is to prevent people seeing through the fabric, makes the colors more solid. I use this stand to create a temporary wall while I teach and I don't want them to see through it to my living room. Assembling the stand was easy, once we were able to get the sizes we wanted. Then because I don't have a sewing machine, I safety pinned the white and colored fabric together. Ghetto, I know, but I'm the only one who sees it. So who cares!! Origionally, I was planning on clamping the fabric onto the frame with A clamps. But they were hard to manipulate. It was a huge hassle to put it up day in and day out. So here's what I did instead: 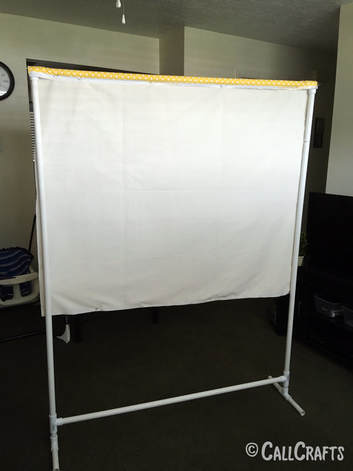
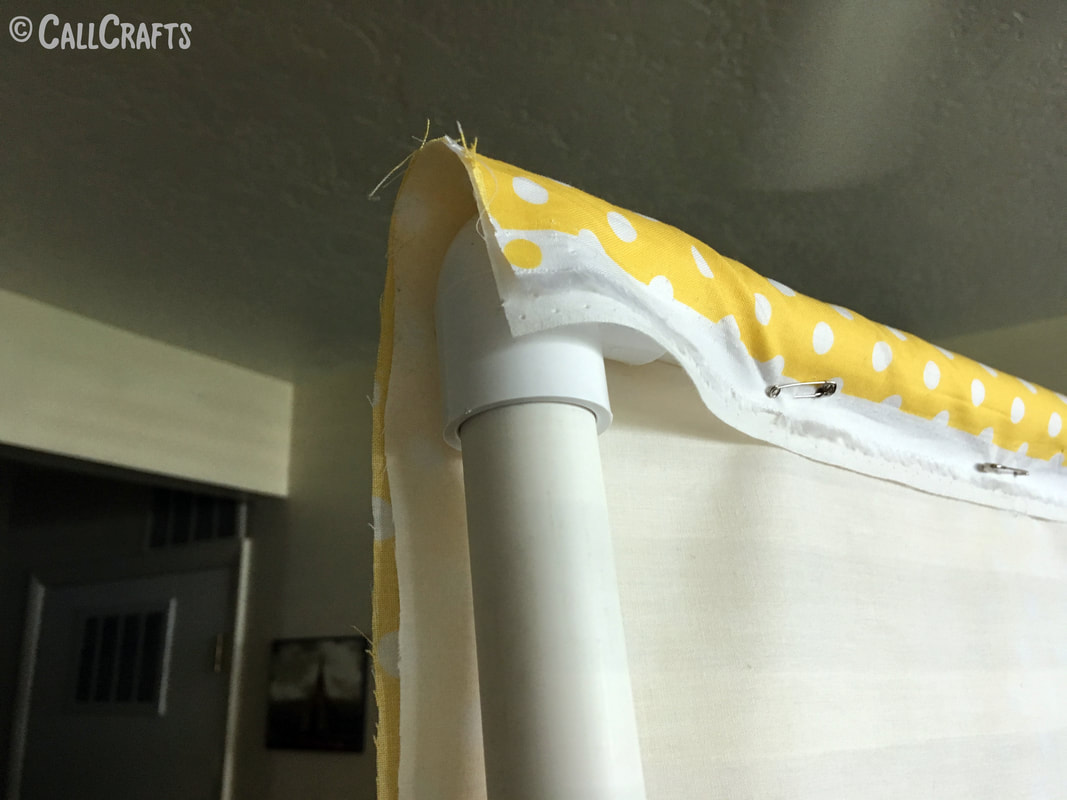
I roughly measured how much fabric I needed for the width and cut off the excess. Then I took the pipe that would hold the hanging fabric and measured how much I needed to create a loop. This is where I'd push that top pipe through, having it hang effortlessly. Then I safety pinned it together.
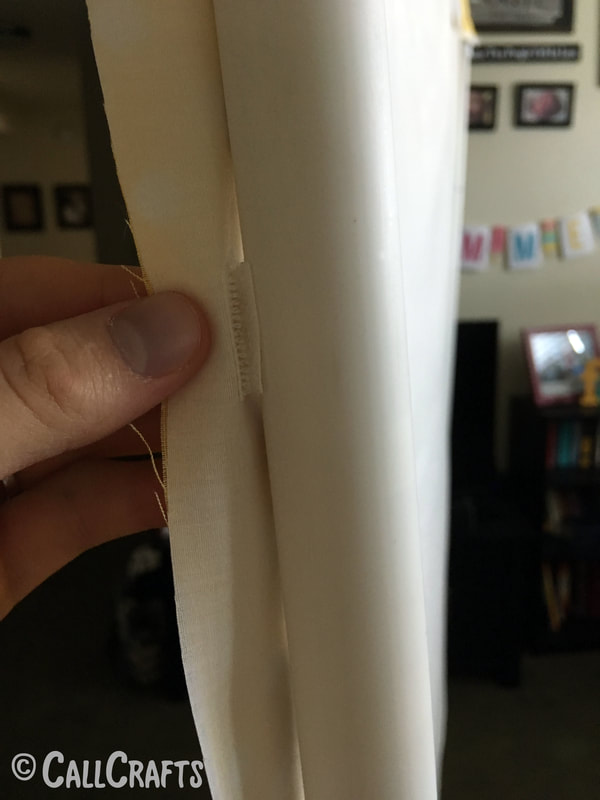
I didn't pin right at the corners because I wanted the fabric to cover the edges of the stand, so the pins on the edge are further in. Then I bought Velcro with an adhesive back. I taped it into the fabric and then onto the pipe.
And now set-up and takedown only takes a couple of minutes. Super easy. Now with this background, I have the freedom to change it however I want. I currently have two backgrounds I'll use regularly and am working on a third, "standard" background. One of them is a rainy day background and the other is a starry sky. With these, I can incorporate student rewards into my background. Like put up rockets and aliens for the starry sky background.
In future posts, I'll be sharing backgrounds I've created and how I use them in my classroom. Thanks for reading. Follow me on Facebook or Pinterest. I'll keep posting fun ideas!
P.S. If you think this will be a fun job to join, I’d love to help you through the interview process. You can email me with the mail icon below for any questions. My referral code (for when you apply) is: 04A7J3
2 Comments
Sandra
6/29/2018 01:47:02 pm
Hi! I love this idea for a transportable background. When you said you put up aliens and rockets for rewards to use with the starry night fabric, how do you put them up exactly? What materials do you use? Thanks so much!
Char
6/29/2018 01:57:06 pm
Hey, thanks!! It’s been so nice for our little apartment. I mean, it sucks having to put it up and down everyday, but it’s what we need. Your comment will be posted after it is approved.
Leave a Reply. |
About Me
Hello! My name is Char. Thank you for visiting my blog, CallCrafts. I am a wife and mother who LOVES to make things. Read tutorials on crafts I've created to decorate my home, for parties, and more! Read more about me in My Story.
Categories
All
Archives
April 2018
Popular Posts |