RSS Feed

I can't believe it's already Spring! Time has gone by too fast! I don't know about you guys, I've had a hard time getting back into my full schedule after the CNY break. But I'm still really glad I'm back to my full schedule, and that the beginning of my day has moved forward an hour.
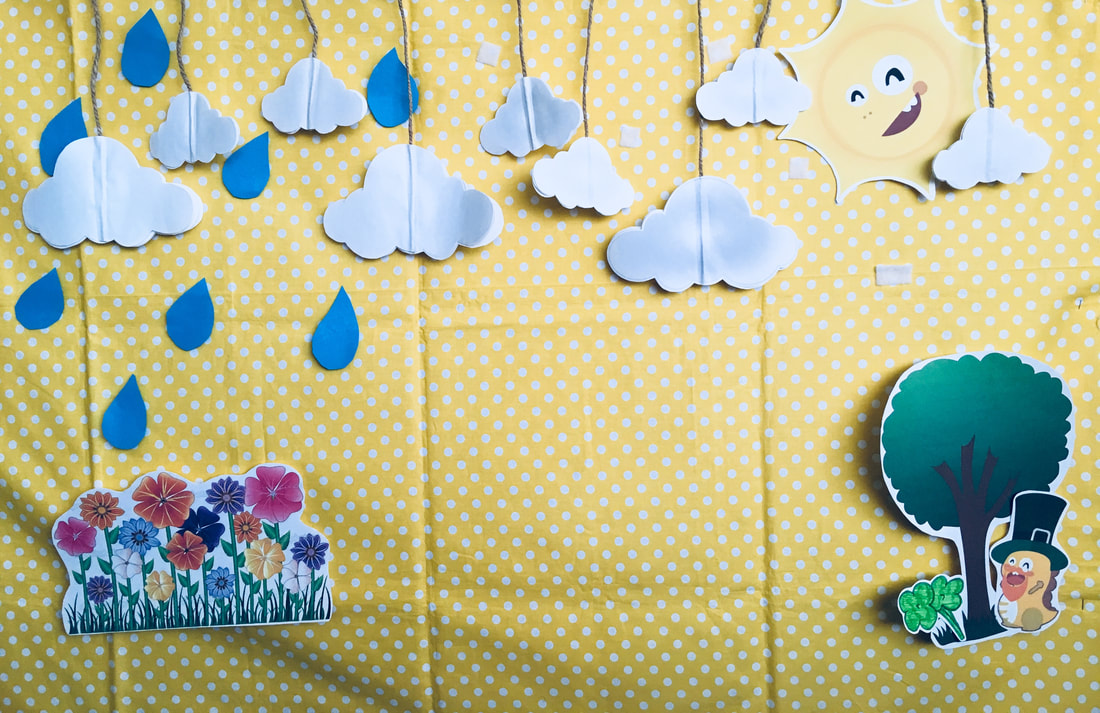
In celebration of Spring, St. Patrick's Day, and Easter, I created a background just for this time of year. In my last post, I showed you all My VIPKID Classroom UPGRADE. These have some pretty drastic changes in the design and structure of my classroom background. I shared with you that I was updating my Cloudy Sky background. I've changed it from just a cloudy sky to a SPRING background!
I've been working more on creating a scenery in my background instead of just random stuff. My last few backgrounds have been less than stellar (in my opinion) because it just looked like random stuff in the background. What I love about this background is that there is a clear theme and it seems to have movement with the rain (maybe I'm just making that part up...). But I LOVE the Dino sun.
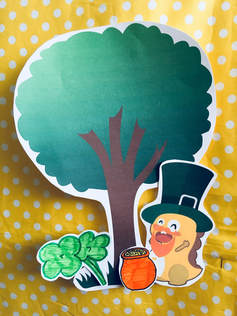
I found the tree and flower patch on Google. I can't share these photos because of copyright reasons. But you'll be able to find them if you put in "tree clipart" or "flower patch clipart." The raindrops are blue colored paper cut out to look like a raindrop. Then I put on a circle adhesive hoop velcro piece. I also attached the tree, sun, and flower patch with these pieces as well.
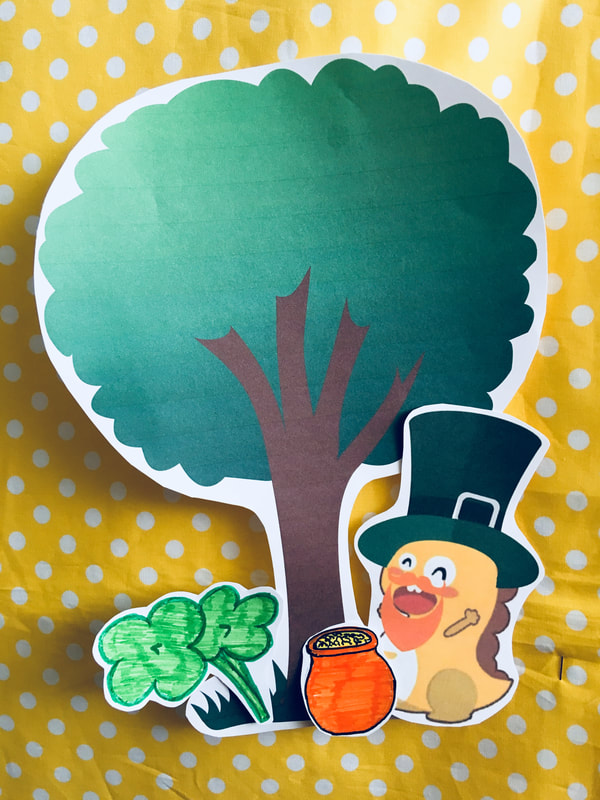
To make it more appropriate for St. Patrick's Day, I added a St. Patrick Dino, four leaf clover, and a pot of gold (which is shown below). I simply taped them onto the tree so I can take it off and replace it with my Easter Decor.
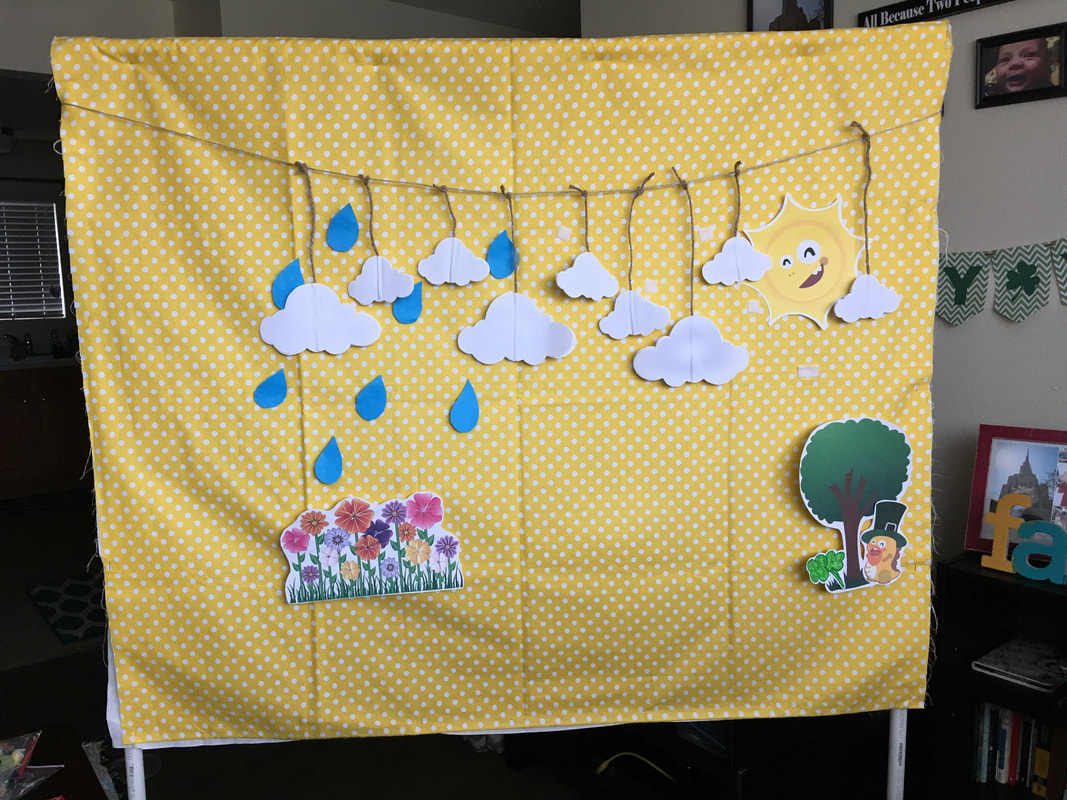
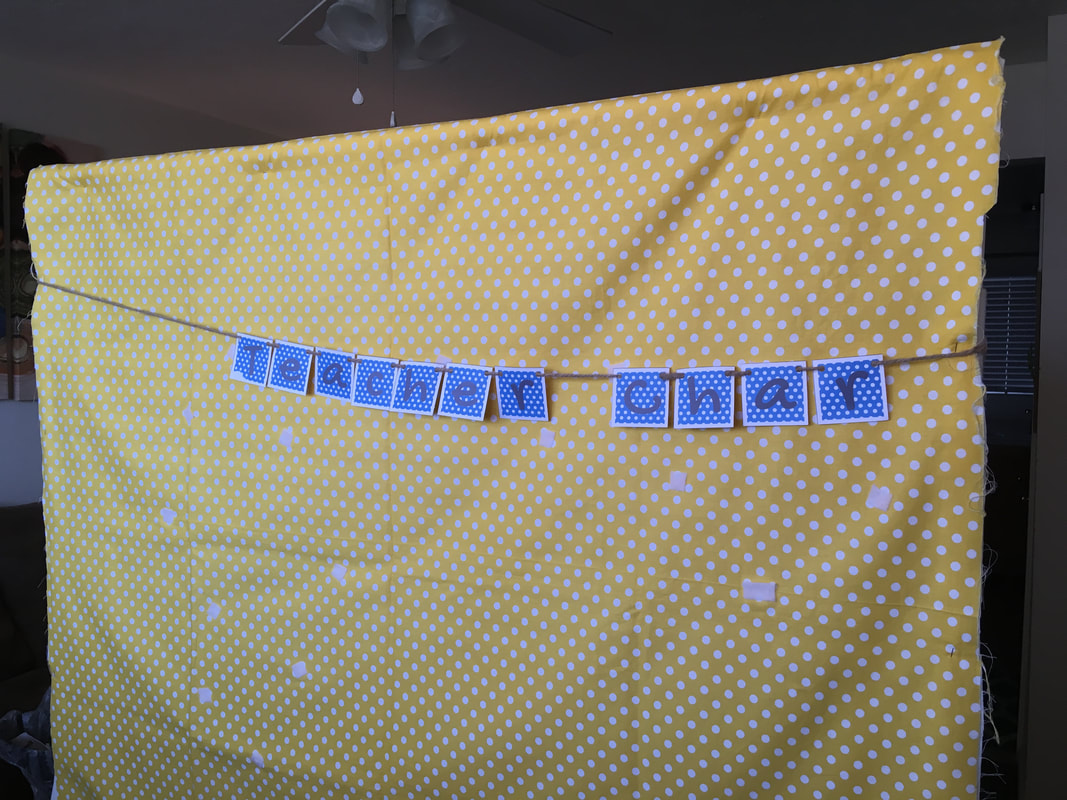
You might be wondering, how did you string up those clouds? I had used these for party decorations a couple of years ago. When I made them, you had to hang up each piece individually. I used to do this when I set the cloudy sky theme up. Doesn't quite work if you need to set this all up in 1-2 minutes. So I added another piece of twine and tied each cloud onto it. The photo is shown below. (If you need details of how I hung up this cloud banner, check out My VIPKID Classroom UPGRADE)
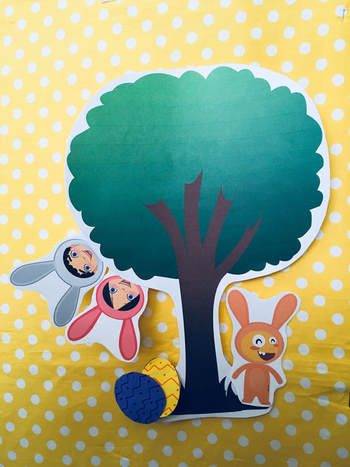
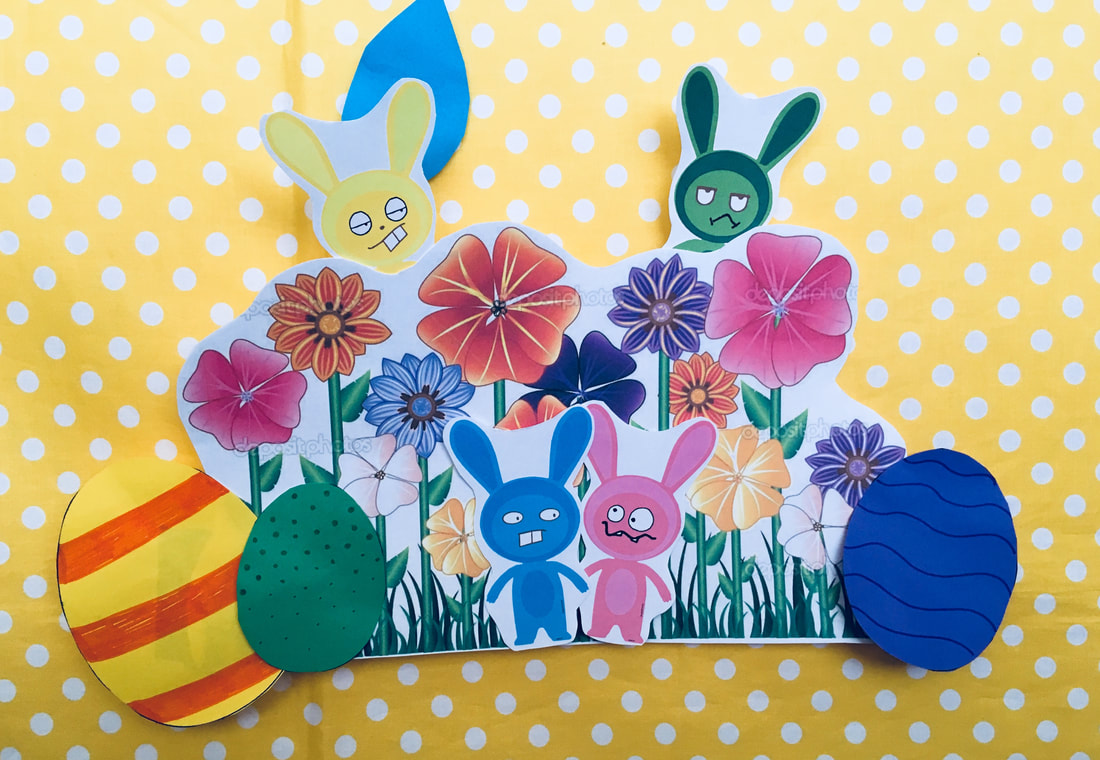
For my Easter background, I just switched out the St. Patrick's Day characters on the tree for Easter characters. I also added characters onto the flower patch.
Design credit for the Dino characters goes to VIPKID Teacher Christina. I love incorporating Dino in any way that I can. I am so thankful for talented artists in the VIPKID community. My backgrounds wouldn't be what they are with out you guys!
And that's it! Cute and easy to set up. Thanks for reading, if you'd like to see more, please subscribe (Facebook, Pinterest, email...doesn't matter). See you next time!
P.S. If you think this will be a fun job to join, I’d love to help you through the interview process. You can email me with the mail icon below for any questions. My referral code (for when you apply) is: 04A7J3
0 Comments
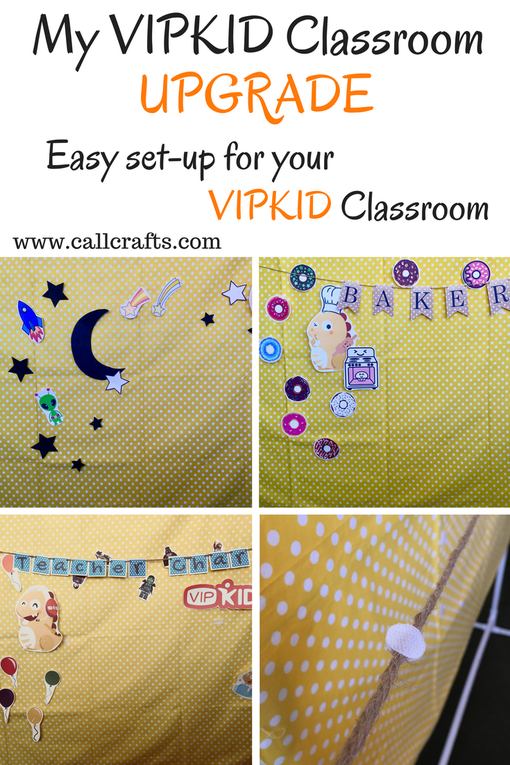
Hello, teachers and future teachers! I'm so excited to present my upgraded classroom backgrounds. I think they look TEN TIMES better than they used to. Plus set-up and take-down is much quicker than is used to be.
Those of you who have read my previous posts about my backgrounds have probably read that I used tape to place on my decorations and leave the velcro available to place up rewards. While that was a good idea at the time, I have found that the kids I teach are more interested in activity-based rewards than getting something special put up on the wall. Maybe I just didn't know how to present it so that it was fun... I dunno. I'm doing what works best for me. And you should too.
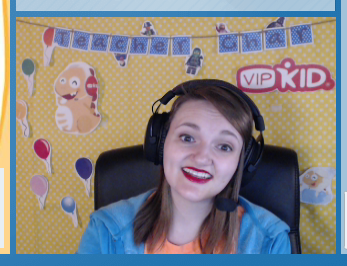
First, I will show the changes I made on my fabric for my backgrounds. Then show you before and after pictures. You'll notice that the light has changed and my hair is so much longer! (I really like that it's longer)
The first thing I did was make it easier for me to hang up my banners. I originally used tape to hold them up. BAD IDEA. As I wrap them up and store them away, the tape starts sticking to the paper and peels off some of the paper in the front. Then after a while, the tape starts to lose its stick. I've had the banner above fall down on me for a couple of classes. It's a little embarrassing.
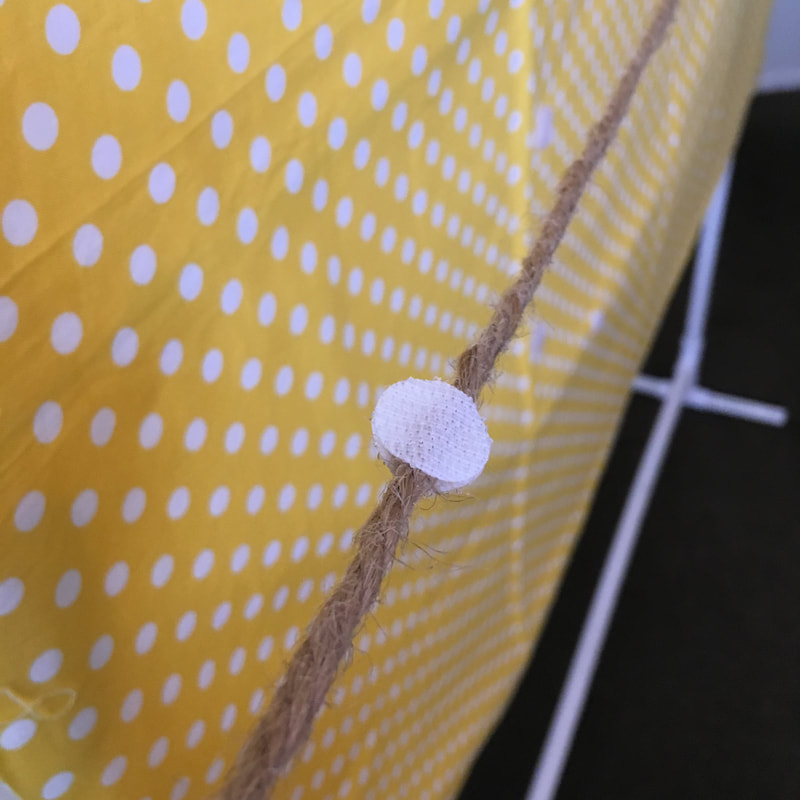
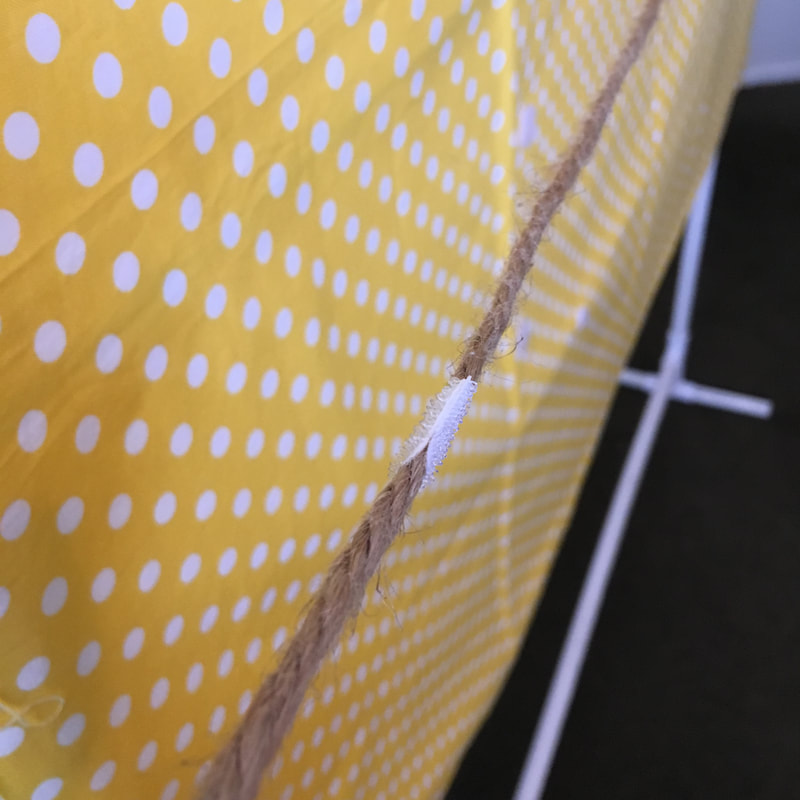
So I added some more loop velcro onto my PVC Pipe frame. I added a very long strip to give me plenty of flexibility to place the banners whatever height I need the banners to be. On the string of the banner itself, I've added hoop velcro onto both sides. I bought these circle pieces on Amazon. Specifically because the pack only had hoop velcro and not both. Here is the link if you are interested: 5/8" Coins Hook Side Only. (This is not an affiliated link, just sharing the love). I used two coins in order for them to stick onto the string. One for each side (just like you can see in the photo on the right).
After that, I added some more of those coins onto my background pieces. My Dino characters, my VIPKID sign, my stars, my raindrops, and anything else that was going to be hung up onto my background. Never again will I tape something onto my background. Never again!!
Day-to-Day Background
If there isn't a holiday going on, this background is typically my go to. It's simple and has my name on it. It used to be so boring and now I've added fun colors and characters to make it more exciting! The balloons, lego, and Elsa Dino were all old rewards that I made that no one really liked anymore. So they've just been sitting in my drawers, until now!
(This is to just show you what it's like without using my Dress Dino reward)Bakery
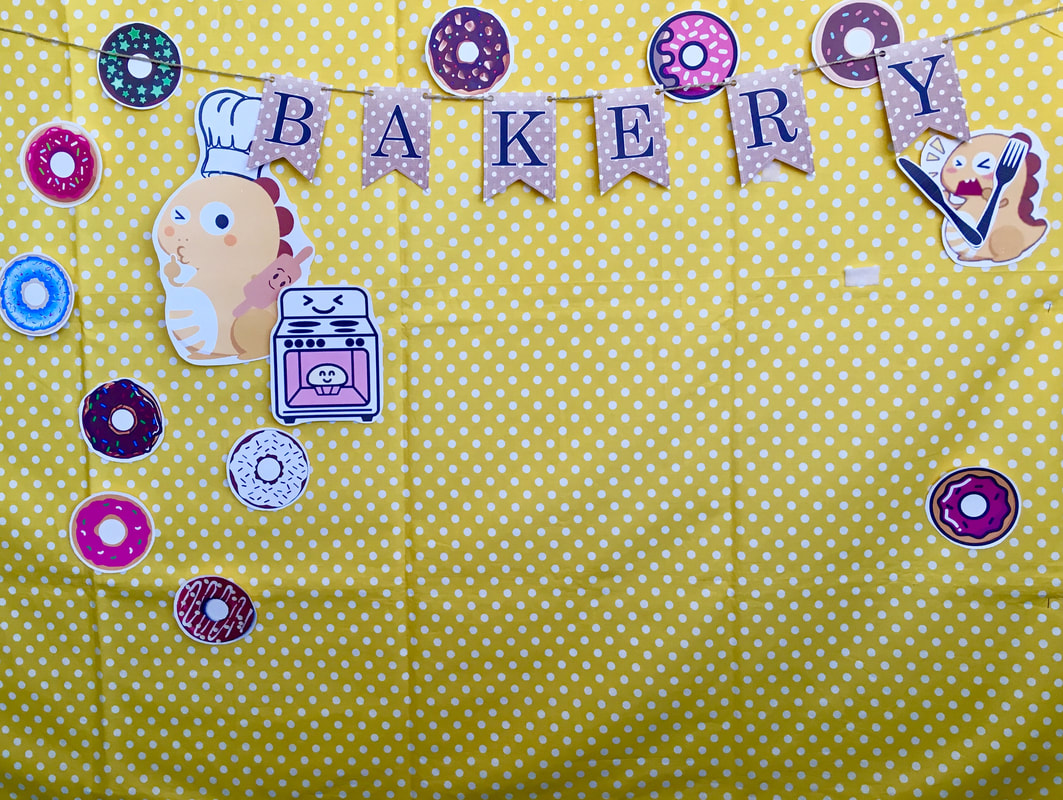
This is my next favorite. Again, it used to be so plain without the donuts around it. Now you can't stop thinking about eating donuts! (The Dino on the upper right can't either)
I totally forgot to take a screenshot of this when I was using it. But I promise it looks WAY better on the screen. (Note: I've also added another piece of loop velcro onto the right side underneath Dino. Now there's no awkward empty space there.)
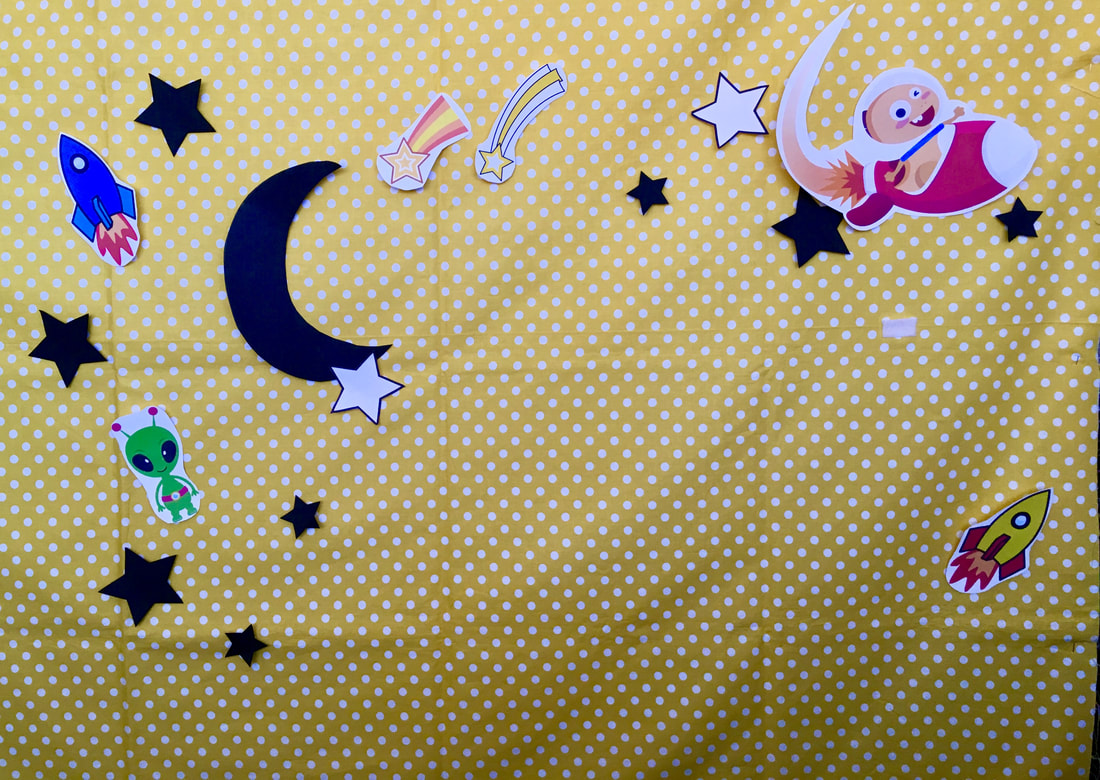
Starry Sky
There's nothing too different about this background. I put velcro on the back of all the stars, the moon, and Dino. Then I added some of the rewards I had shown you in my original Starry Sky background. Now they are up all of the time instead of only when I use them in the classroom (which soon became never). Again, adding the velcro has made set-up a lot faster!
Again, I've added another piece of velcro since I took those pictures. That awkward hole is gone.
Sneak Peak....
I had one more background that needed an upgrade. My Cloudy Sky background. At the time I finished updating these backgrounds, this one still wasn't done. I was still missing a few pieces I needed. Now its done and I'll be making a post very soon. For now, here's a cute little teaser....
Thanks for reading guys! I hope you find this helpful for your room. I love that I can have a cute classroom and not have to commit a small space in my small apartment for it. Subscribe if you would like to see more!
P.S. If you think this will be a fun job to join, I’d love to help you through the interview process. You can email me with the mail icon below for any questions. My referral code (for when you apply) is: 04A7J3
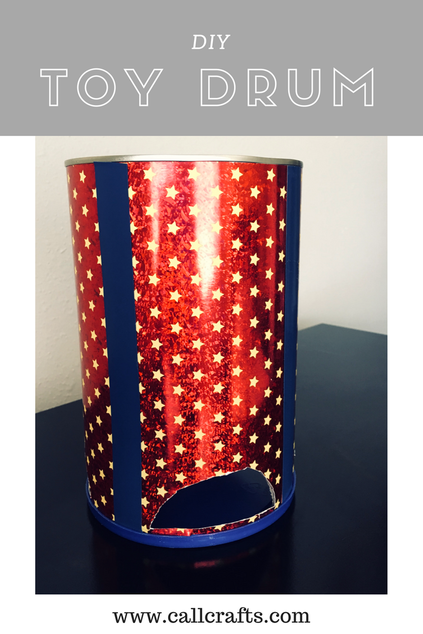
I'm really excited for this post today! It's so easy to make!! Like seriously. So easy.
This all started because my 8 month old son now enjoys making sounds. We've been playing the piano, trying out my ukulele, and now playing with drums. I am a musician and so I've been acquiring a few instruments. I guess you can say that I have a collection. Either way, my son loves it. This little idea just came to me. My son was playing with a snare drum I have and I thought, "Wait a minute! I have an empty formula tin, I can make a drum!" And that was that. It took some tinkering, but it turned out great. At first, I wanted the sound to be more resonant, then the scrapbook paper wouldn't stay on the tin, etc.... I'll guide you through the process.
What you will need: Formula tin can (or any cardboard tin really, a Nesquik tin is about the same size) 12X12 scrapbook paper of your choice Craft knife Box Cutter Regular Tape or Glue Colored Electric Tape of your choice for decoration Sorry I don't have step-by-step pictures. There are so many times I get caught up in making the craft, solving the problem, that I don't remember to take pictures. But if you skim through tutorial posts, like me, I'll do this: I'll enlarge the title of the step and then write a description if you need more details. (If you're also like me, you've probably already figured out how it's done...) Step 1: Clean the Tin and Cut Sound Holes
Cleaning the tin is obvious, but this is a tutorial and that was the first thing I had to do.... On to cutting the sound holes!!
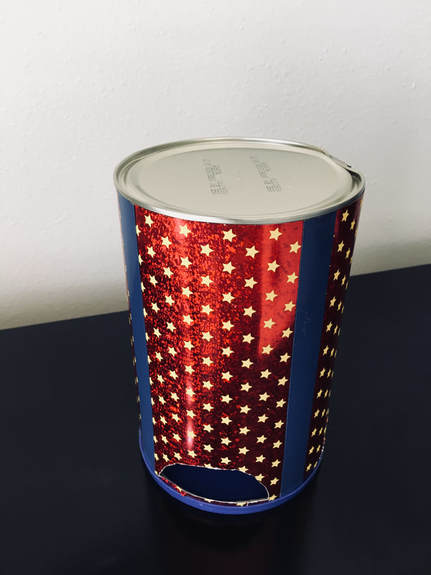
Your drum is already going to resonate (create a sound) without the sound holes. However, your drum become more resonant with them (meaning they bang louder). I really liked the tin sound it made when I banged on the tin without the cover, but I wanted to be able to have that sound all the time, sound holes make that possible. Creating sound holes allows the sound to come out wherever the drum is positioned. So this is where you need your box cutter. Simply draw 3 half circles around your tin where you plan to cut your hole. Then cut it out with you box cutter. Leave the metal rim on. You're going to put the lid back on later. I made three sound holes and I simply eyeballed where they should be placed. Remember, this is for a baby. He's played with it for 20 minutes and he's already tried to eat it. Step 2: Cut Out and Tape on your Scrapbook Paper
You'll need to cut it out to make sure its the right size. With your tin, measure out the height of your tin. Once your paper is the right height, you'll notice it's not wide enough to cover your tin. Use your excess paper to cover the rest. Cut that out the correct height and tape it on.
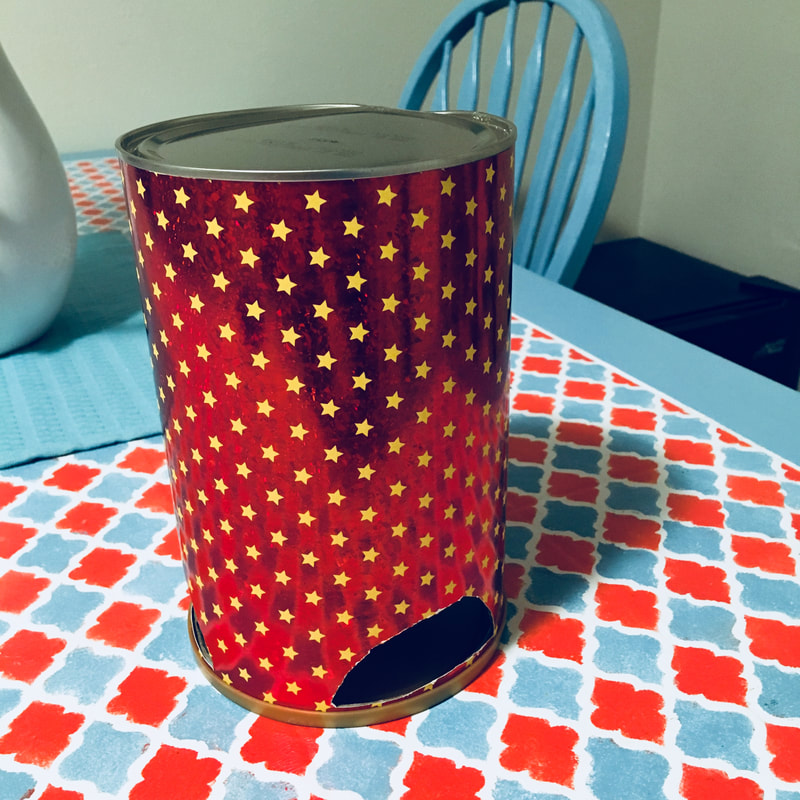
Step Three: Cut Out the Scrapbook Paper Covering the Sound Holes
This step you will need your craft knife. It's a little more precise than a box cutter. I guess a box cutter could work too. Leave the lid off and cut the scrapbook paper from the inside of the tin, using the edge of the sound hole as a guide. I also left paper to cover the rim as well. I'm sure your drum will look fine without that detail, but I like that little touch.
Step 3: Tape on the Colored Tape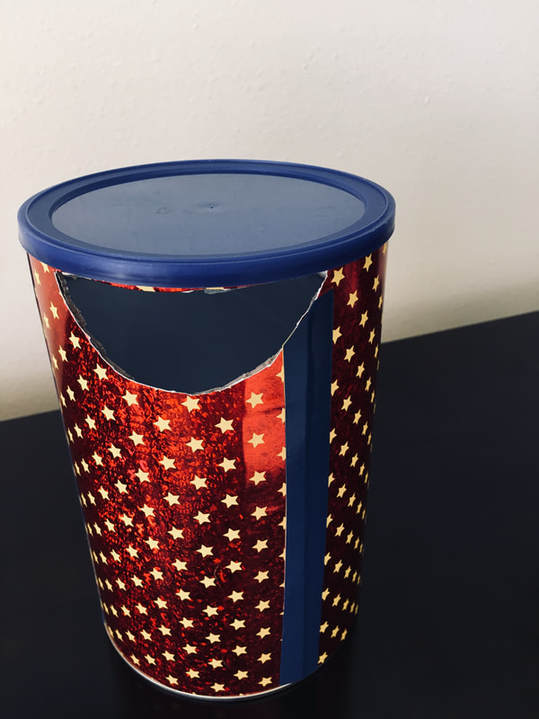
You don't have to do this part. I just hate glue and my paper wasn't staying on like I wanted it to. This wasn't what I originally wanted the drum to look like. But then on the other hand, it looks more like a drum.
I ended up with four of these taped lines on my drum. You can do more or less. Just make sure the tape you chose is opaque enough. I originally used yellow and you could see right through it. So I went with blue. Pull out some tape and lay out on the length of your drum, the end lining up to the rim. Then cut it off at the rim on the other side. If your tape is going over a sound hole, cut it at the edge of the sound hole (like you see in photo above). Once you have finished, place on the cap.
That's it! Give them a kitchen utensil and watch them bang happily away! With the plastic lid and the tin bottom, they have two different ways to make sounds with their drum (technically three when they hit the sides). Makes things more interesting.
Thanks for reading! If you liked this post, follow me on Pinterest or Facebook. The links are above and below. See you next time! |
About Me
Hello! My name is Char. Thank you for visiting my blog, CallCrafts. I am a wife and mother who LOVES to make things. Read tutorials on crafts I've created to decorate my home, for parties, and more! Read more about me in My Story.
Categories
All
Archives
April 2018
Popular Posts |