RSS Feed
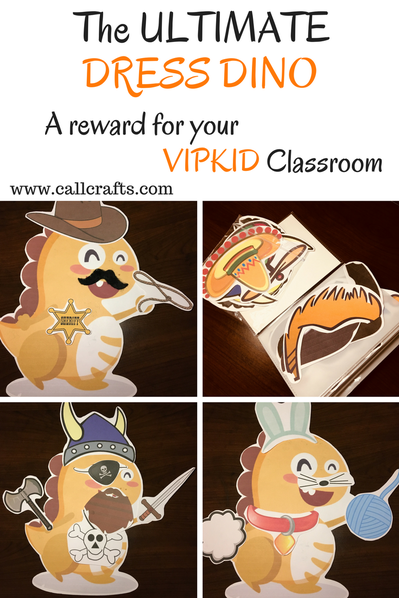
Hello VIPKID teachers! Usually I share backgrounds I've created for my VIPKID classroom and how I make them. This time, I'm going to share one of my rewards, Dress Dino. I have three rewards that I use regularly and this is one of them.
It's a popular reward among VIPKID teachers. Makes sense too, it's gender neutral and good for all ages. I started with just a PDF file with a few hats, sunglasses, hair, bow ties, and ties. Only a few pieces, but it was fine as long as no one keeps choosing this reward. And then it happened. I had a regular who only wanted to do this reward!! After a while, she had seen all of my costume pieces. She had this look on her face that said, "Seriously!? That's all you have? I've seen all of these!" I knew I had to amp up my Dress Dino game. After some downloading and printing, and cutting. I have a fun set that I enjoy using with my students.
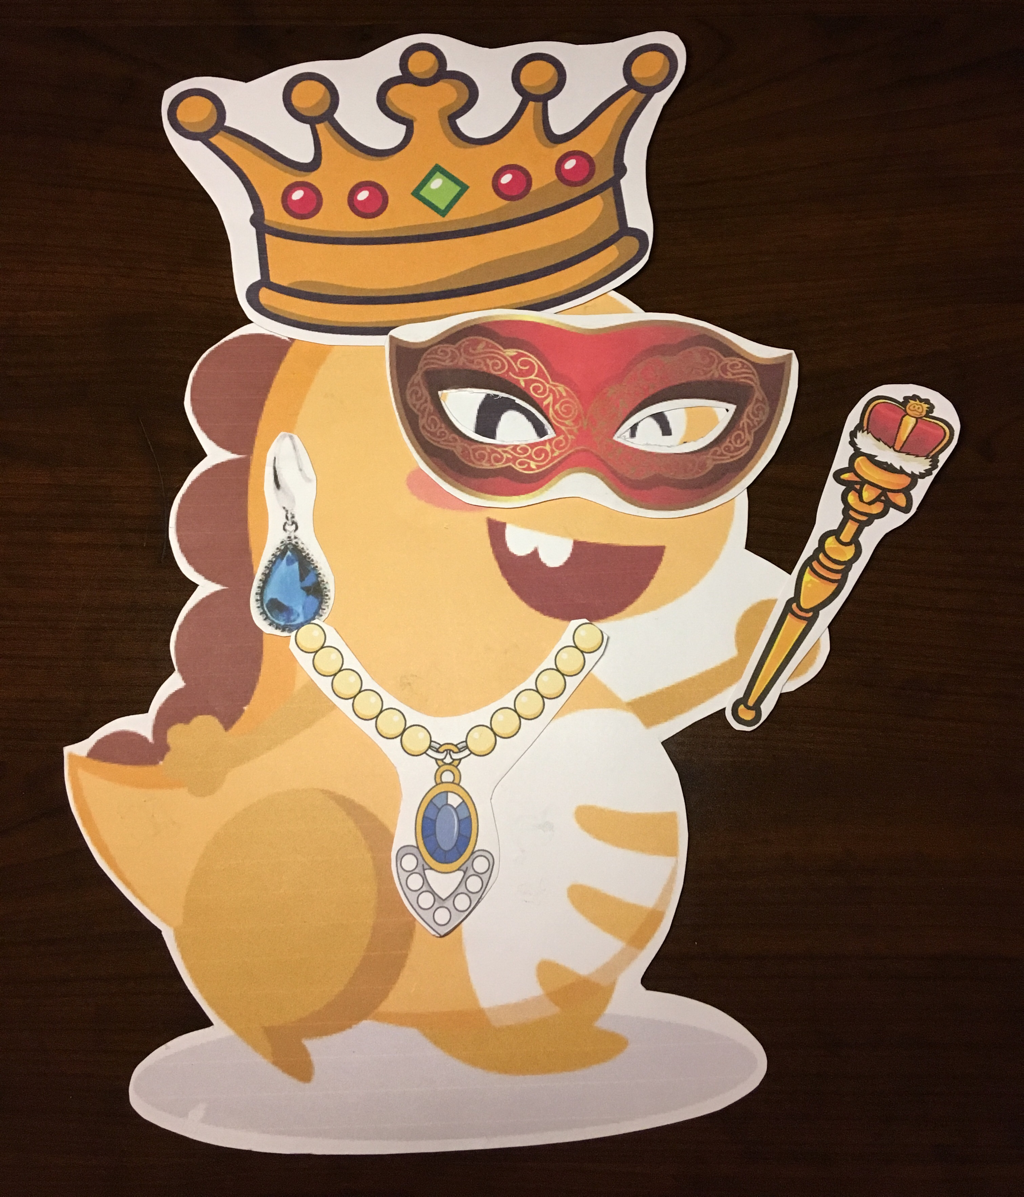
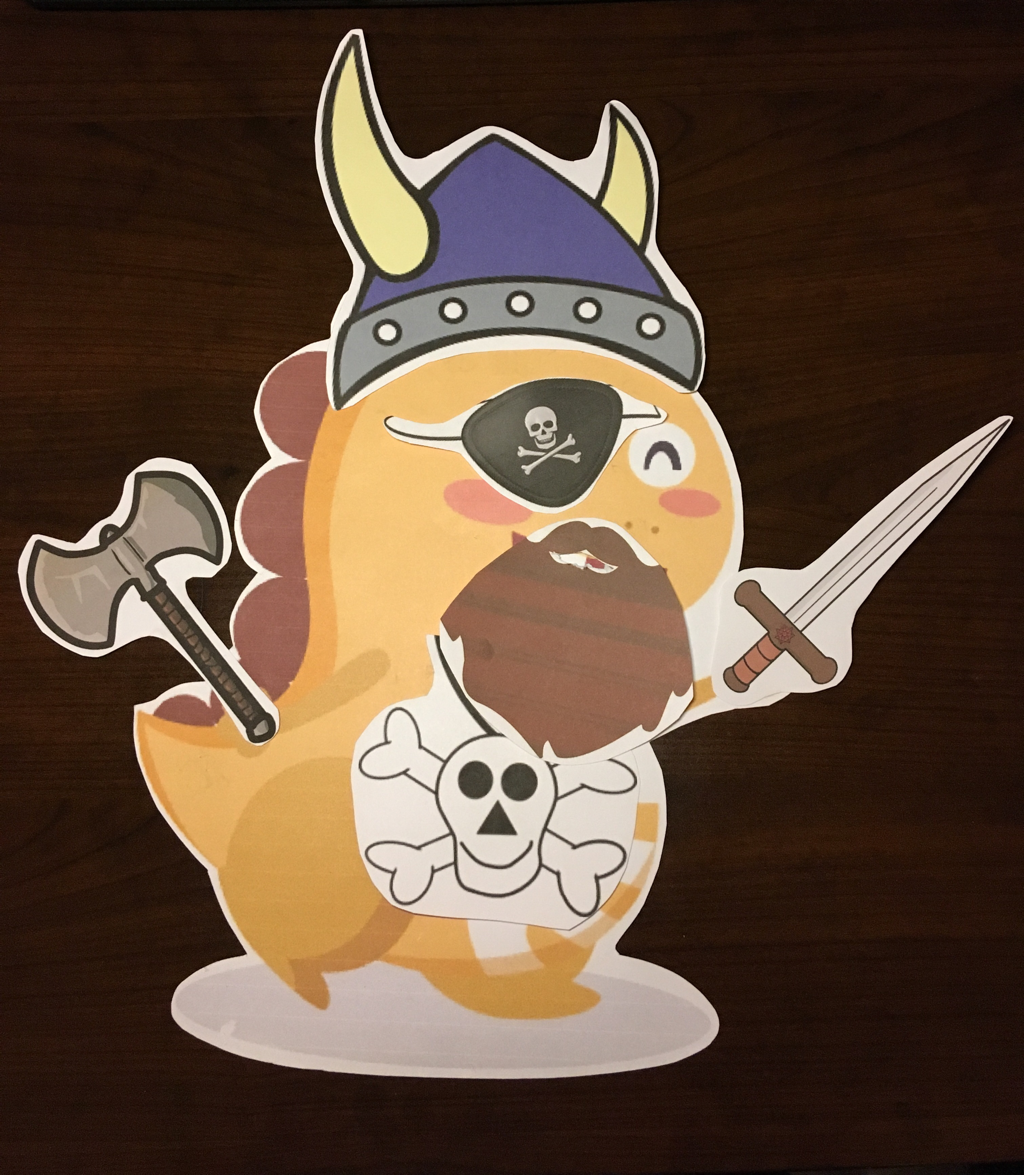
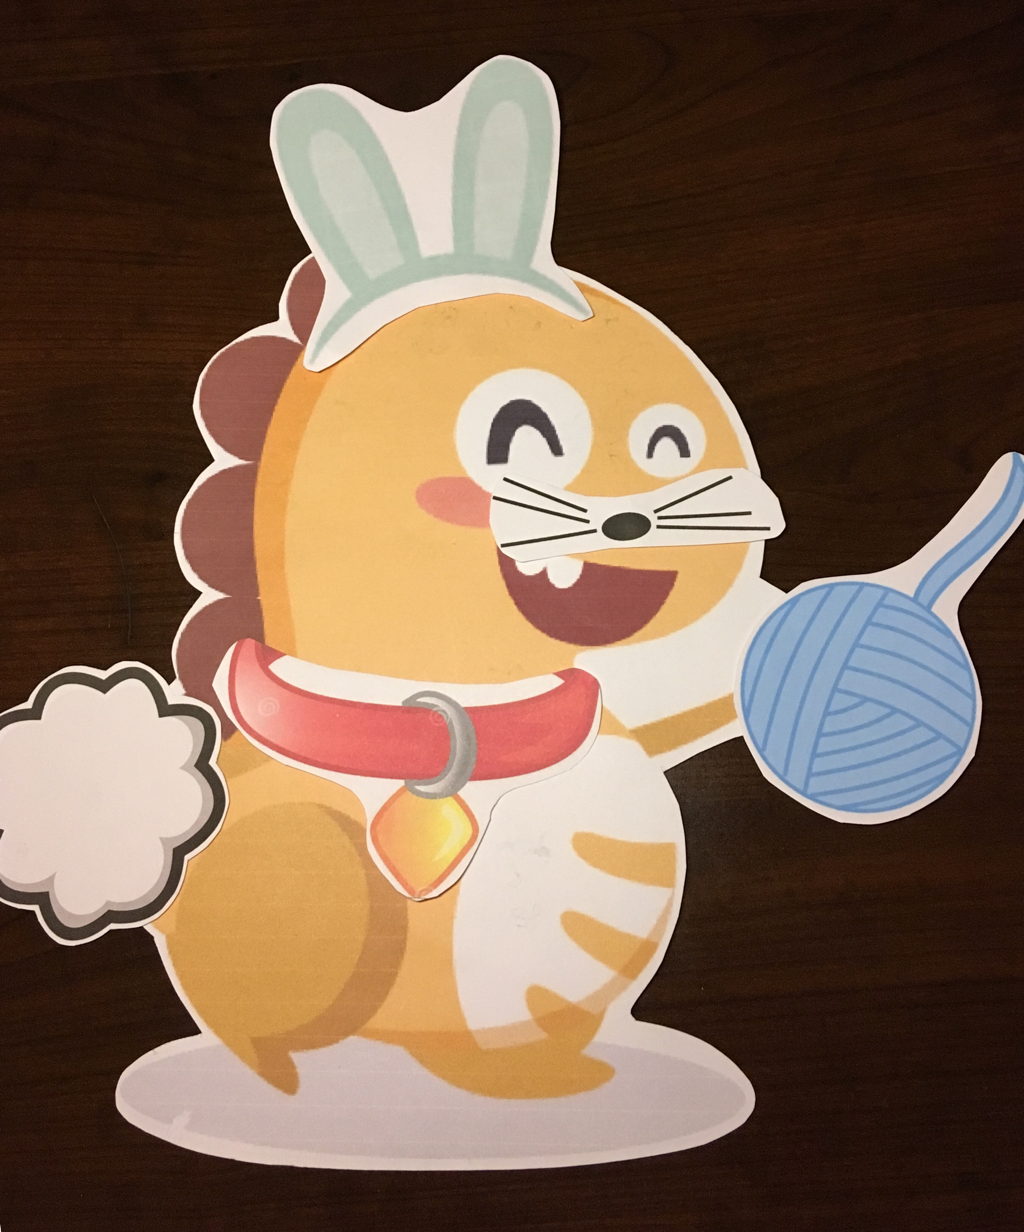
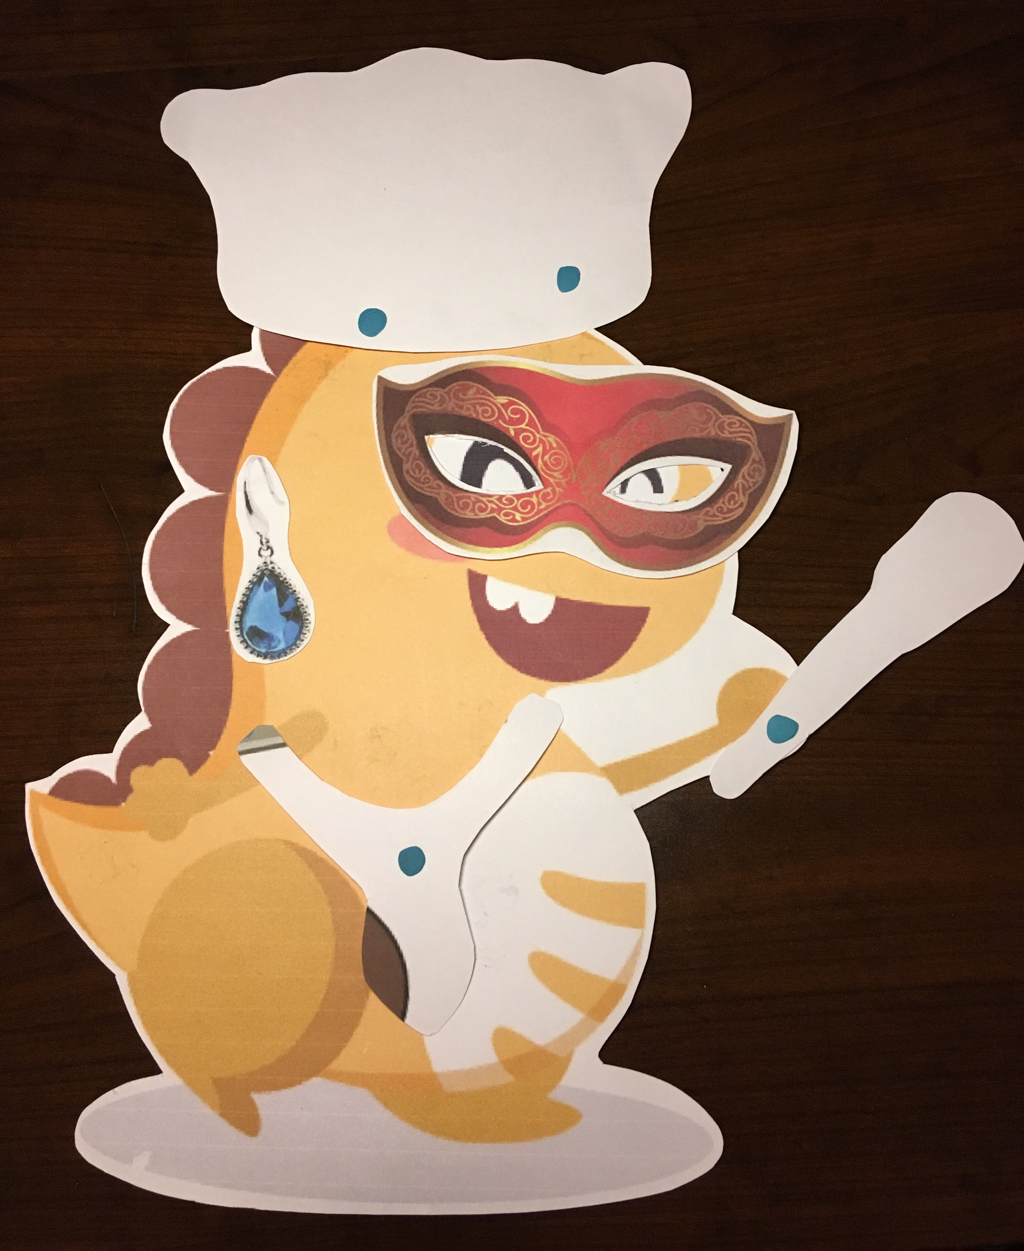
I can make themed costumes like: Cowboy Dino, Pirate Dino, Viking Dino, Mexican Dino, Princess Dino, Cat Dino, Dog Dino, Bunny Dino, Tiger Dino and more. You can mix and match to make a silly costume. This set has facial hair, hand props, necklaces, earrings, hats, masks, animal ears and more! It's the Ultimate Dress Dino. (This does not have all of the piece I use, I started with a couple of files others created and went from there. This is mentioned below.) Don't be afraid to make more for yourself if this file doesn't have the ones you want (I'll provide a link to the file later). The process is easy:
You'll need: Dowloaded images Word Printer Card stock paper Sticky tac (or magnets) Head on over to Google (or the web browser of your choice) and download costume images you want. You can do Chinese New Year themed costume pieces or Christmas themed pieces too. Once you've downloaded all the ones you want, simply paste them all onto Word Doc and change the size for your Dino. Then print on card stock. Card stock will prevent tearing in the future. Then cut. You can laminate if you wish, but I haven't run into any problems since I haven't laminated them.
I stick my costume pieces on with Stick tac. If you can use another method. I will admit, it does get annoying since the tac can flatten out so much a piece will fall off. I found that I have to use two pieces of tac for all of my hats or they fall off. It makes a good laugh, but it's still annoying. Also, don't put a hat and hair on Dino, it's too heavy.
All of costume pieces fit this Dino printed on a 8”x11” paper.
That's great and all, but where's the file to download my ULTIMATE DRESS DINO?!
As I can't legally share this file on my blog (copyright issues and all), I will be sharing this file on the Facebook group page: VIPKID - Videos & Props. You will need to be a member of this group, and an actual VIPKID teacher to access this file. I'm assuming you are if you are reading this post, right? PLEASE USE THESE ONLY FOR PERSONAL USE.
In companionship to this file, you should get the dinodressup PDF and the Dress a Panda Reward PDF (this is where you'll get the sunglasses, crown, and some other fun pieces). Woa, this is a lot! How do you organize it?!
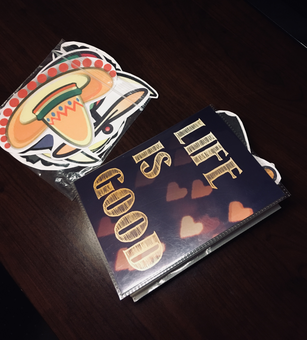
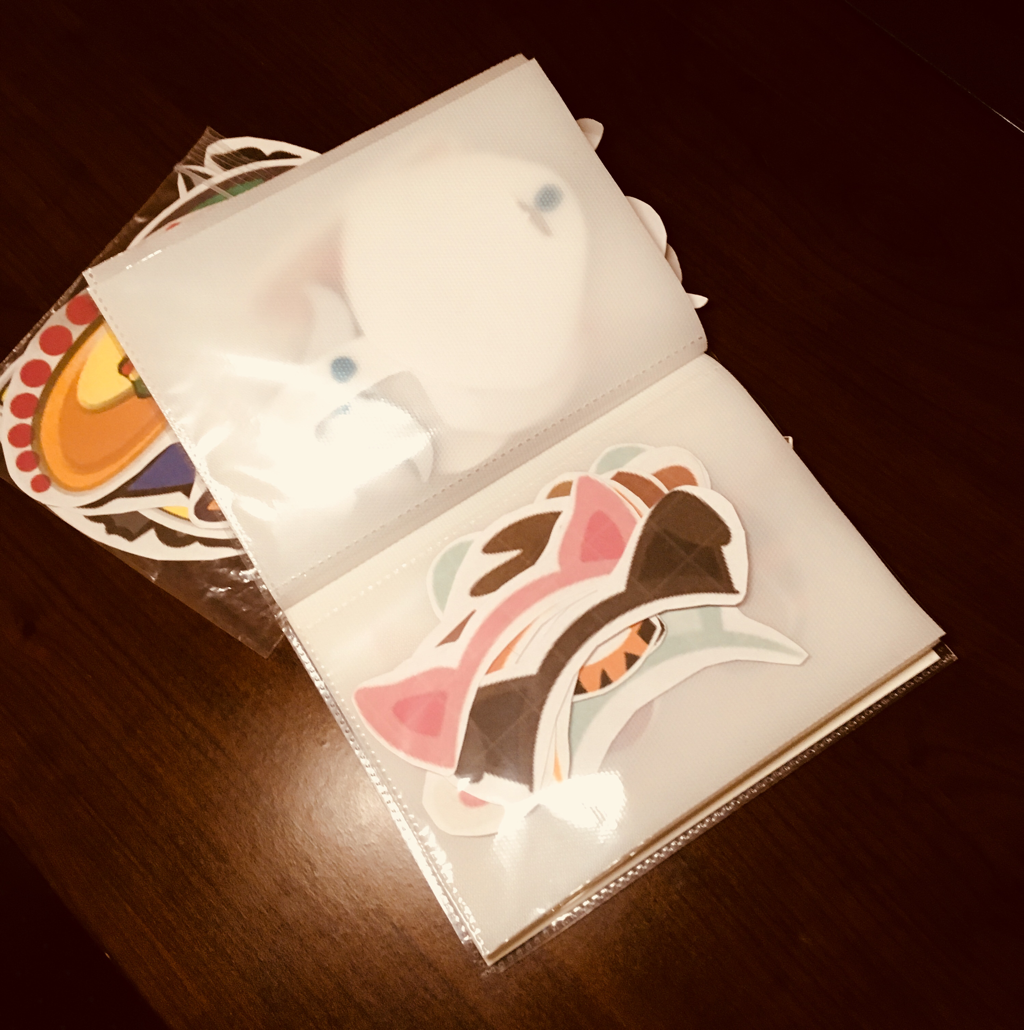
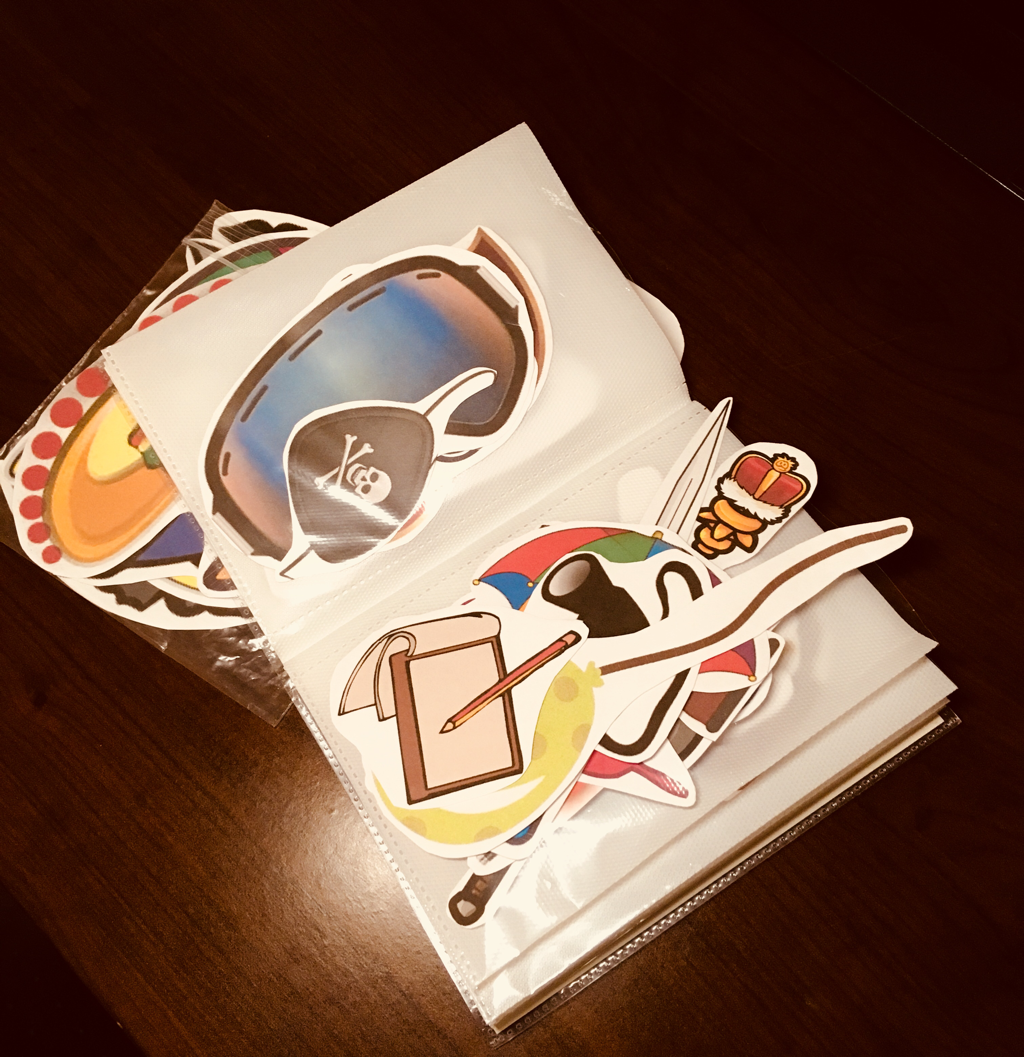
Behold! My photo album!! It’s the perfect organizing tool for these little pieces! Each page has different categories, hats, eyewear, body pieces, hand props, earrings, and mustaches (then more for the animal stuff).
If you’ve noticed, I have an extra bag of hats and hair. I was hoping to get a book 5” wide, but they only have 4”. It’s only a few pieces that are too big so they aren’t a nuisance to have just hanging around in the bag. If you use the Walmart Square Snack bags, those will work nicely (no affiliate links, just sharing what I use).
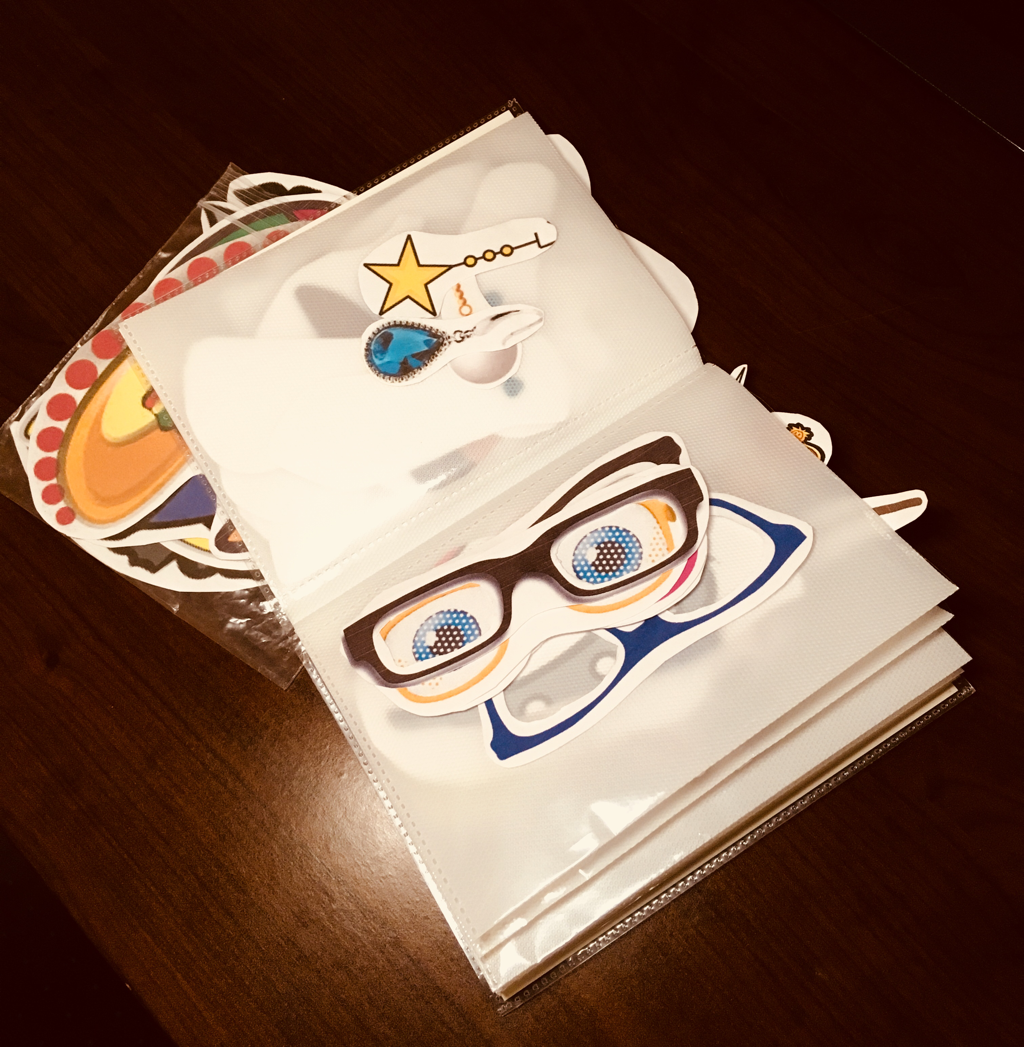
If you notice on some pages, there are pieces on just one page, or on both pages. I found the trying to put pieces back to back in the book made them hard to get out. This is a no-go for a 25 minute lesson. So each category is on one sheet, not both sides. THOUGH I use the back side for further organizing. Example: I have a ton of glasses and a few special masks. So I keep the glasses together and put the special masks on the back to find it quickly (as you can see above). Can't do this with the hats though...
So...how do you use this in your classroom?
I made 5 clothing categories for the 5 stars. About 5 minutes in, I start with the first piece, usually the hats/hair. I hold up three options and number them for the student. Then they pick the one they like. For my advanced students, I’ll start by saying, “Do you want Dino to be a person or an animal?” Then I show them the 3 options. For a lower level student, I’ll just show the animal ears as an option.
Then I’ll place the piece they selected on Dino, present it, and give them the star. 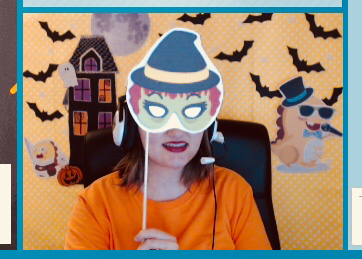
I hang my Dino up onto my background with Velcro. This photo is my Halloween background. If this is your first time reading my blog, I create different backgrounds for my classroom. I don’t think it increases my bookings, but it sure makes class fun for me. If you're interested in my ideas, you can start by reading Backgrounds for you VIPKID Classroom. I have plenty of posts about themed classrooms. Feel free to browse.
For every 5 minutes of class, we pause and Dress Dino. Sometimes we get to do it 5 times, sometimes only 4. It depends on the lesson. At the end of class, on the goodbye slide, I take the completed Dino off my background, and bring him up to the camera and we say bye together. And that’s it! Fun, easy, and for all ages. If you’ve enjoyed reading this post, please follow me on Facebook, Twitter, or Pinterest. The links are below and the top of the page. Warning: this is a craft blog, there will be lots of postings about crafts. See you next time!
P.S. If you think this will be a fun job to join, I’d love to help you through the interview process. You can email me with the mail icon below for any questions. My referral code (for when you apply) is: 04A7J3
Ultimate Dress Dino File
2 Comments
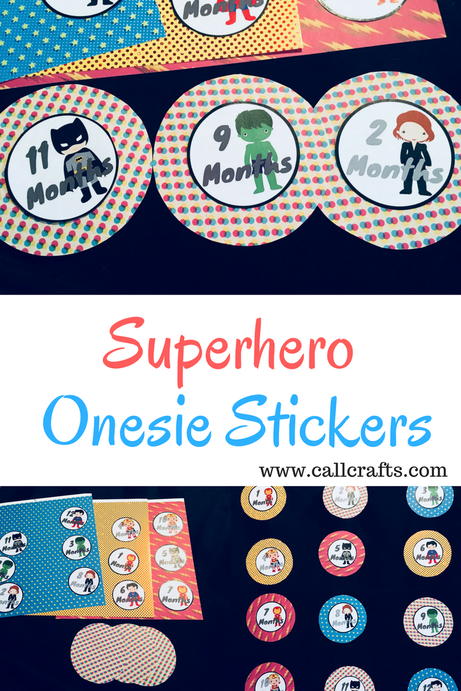
Hi! Today's post is about these awesome onesie stickers I made for my sister and her baby boy. I must admit, this project would've turned out better with my new Silhouette machine. But you can use the principles I've shown in this blog to make your own. I will not be sharing a link to download the superhero photos and the corresponding months. You can find these character online yourself and make your own. It's so easy.
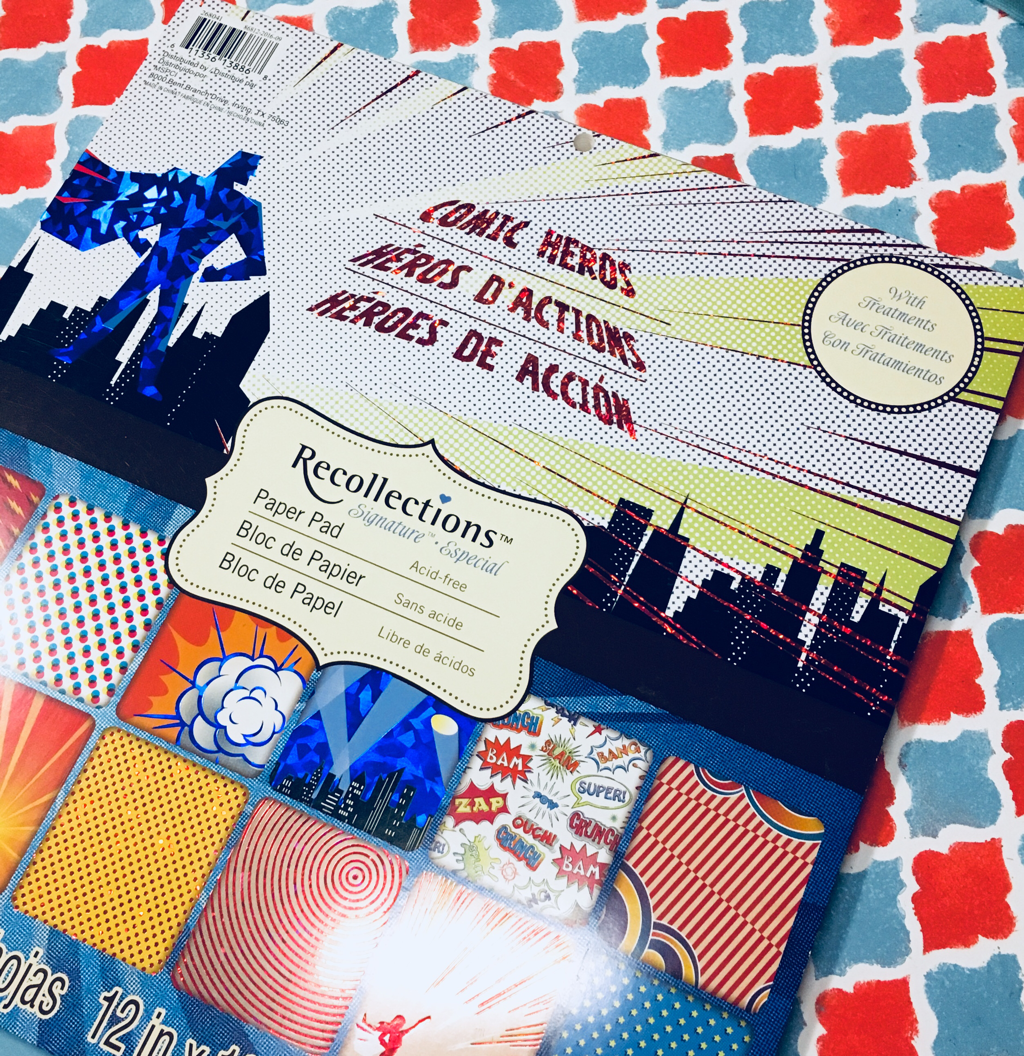
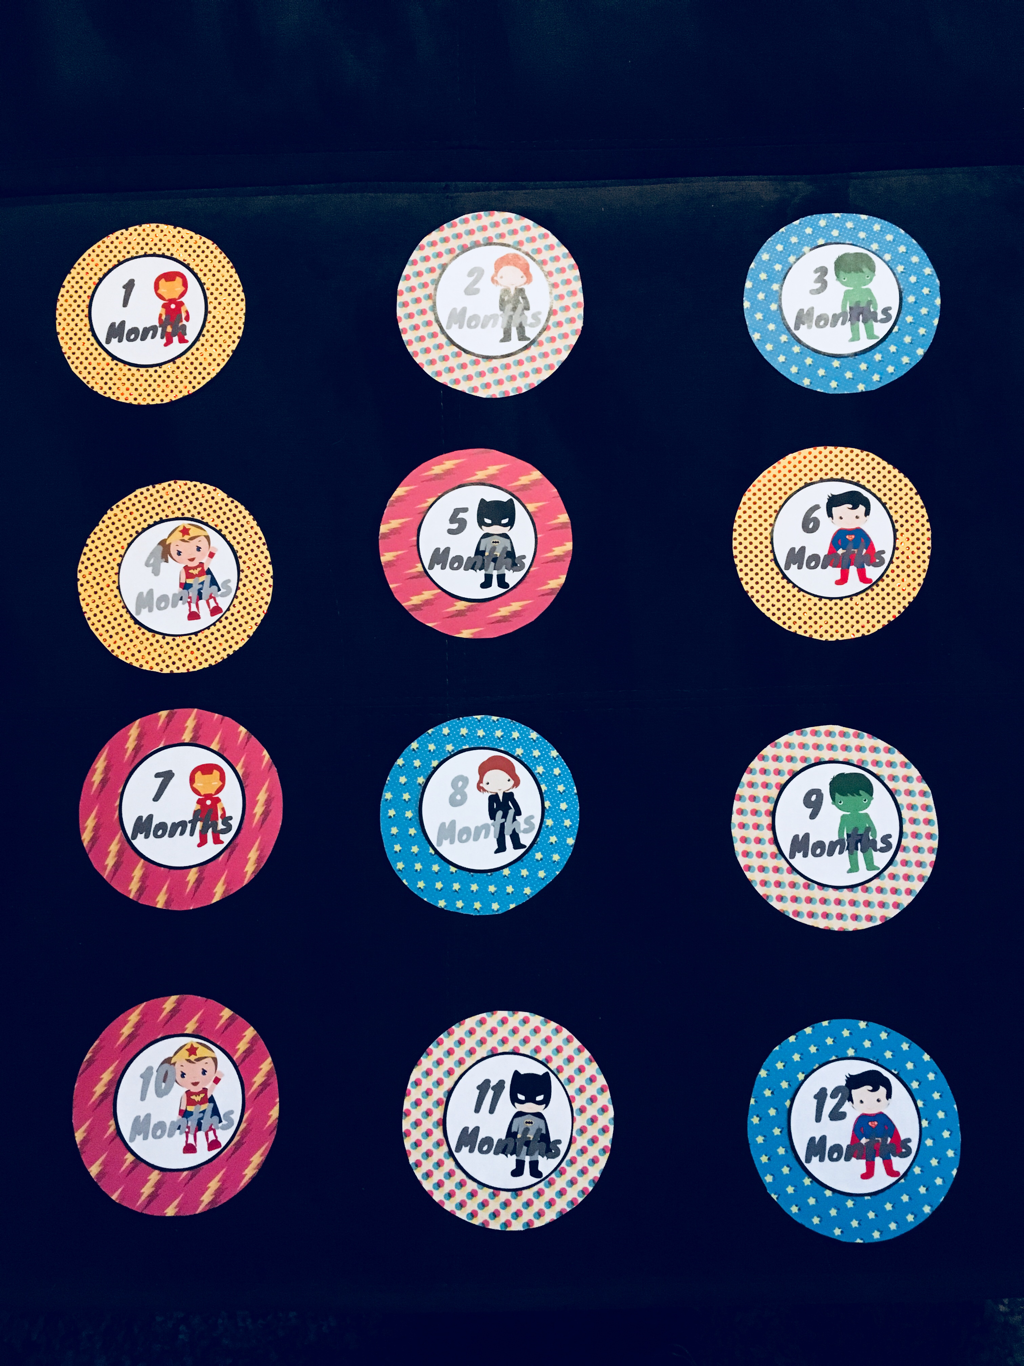
You'll need: -Canva (or designing software, I guess Microsoft Word will work too) -Card stock paper (I used 2 sheets) -Scrapbook paper (I used 4 sheets) -Scissors of cutting machine -Glue or double sided tape First, I created the design for each sticker on Canva. It's pretty basic (but I like basic). Circles with text and a picture inside them. I only found 6 superhero characters I really liked. I wanted them to look child-like since this is for a baby. So I simply created the first 6, then I copied them and changed the numbers. Since this post is about how to create these stickers, I won't explain how to use Canva. Let me know if you'd like a tutorial on how to use Canva though. It's pretty easy (which is why I LOVE it). Each of these circles are about 3" x 3". Then I printed it out on my card stock paper and cut it out.
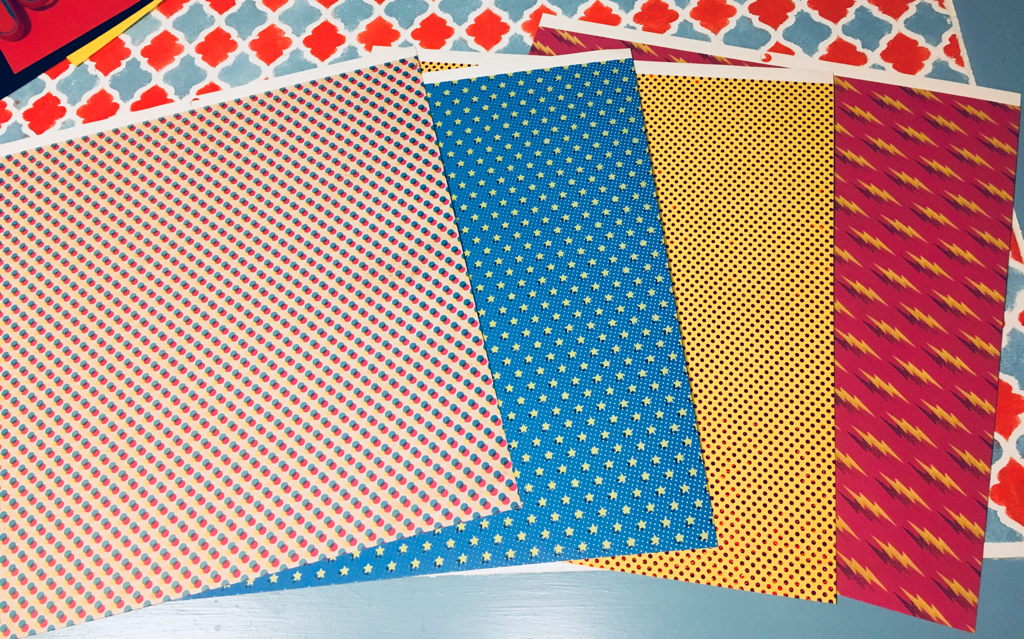
At this point, your sticker isn't going to look that interesting. That's where the scrapbook paper comes in! Choose a design of your choice. My Mom bought this for me when I was creating my son's decorations for his nursery (Note, you should totally check it out! It's so cute). I haven't found a use for it until now. Thankfully I have it for this project. I haven't seen that many superhero theme ones.
Each of these circles are 4" x 4". Luckily for me, I have a tape roll that is 4" in diameter. Score!! 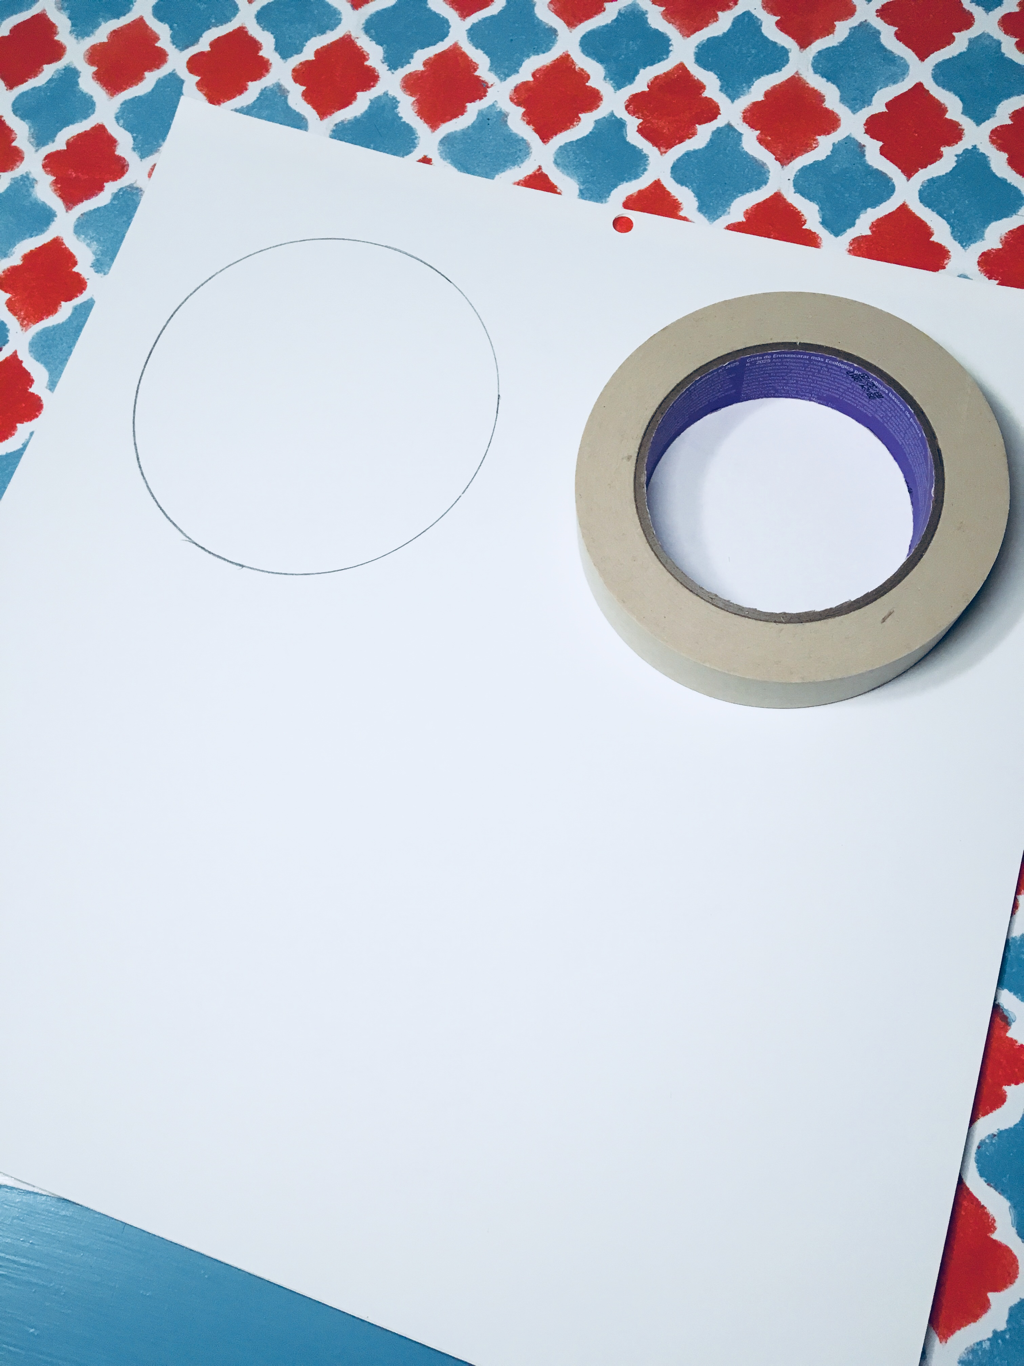
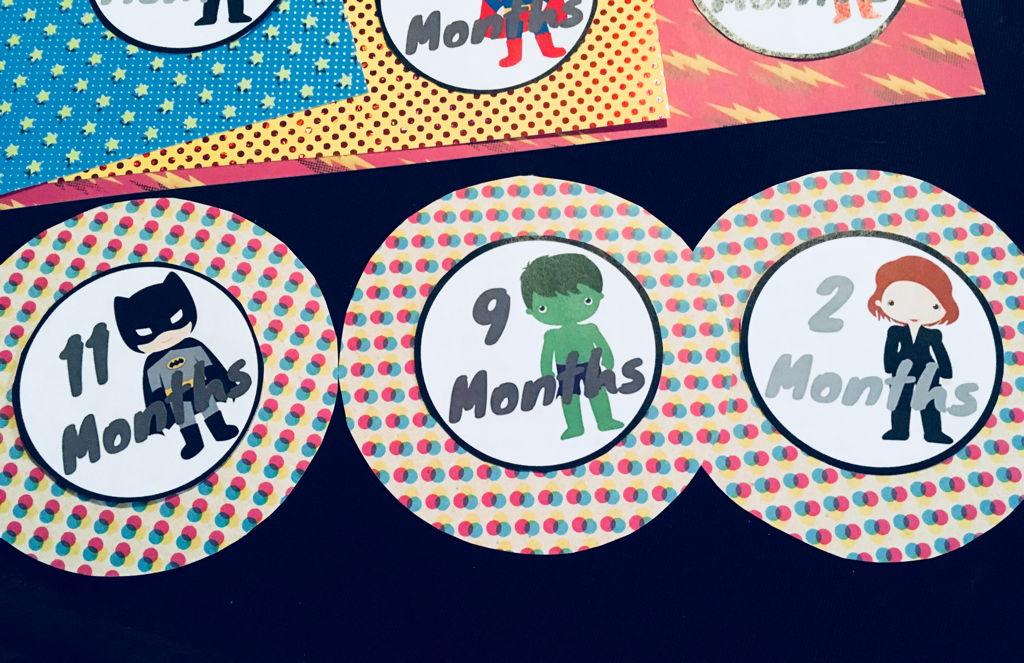
Create your outlines and select which character you want on the paper. Or just use your machine...creates a neater, more professional look.
In the photo below, you can see that I made sure none of the same characters were on the same design (the ones on the far left are being taped onto the circles cut out below). I wanted to make sure they each looked different. Also, I chose designs that weren't too bold; no text that would make you look away from the month and the character part. 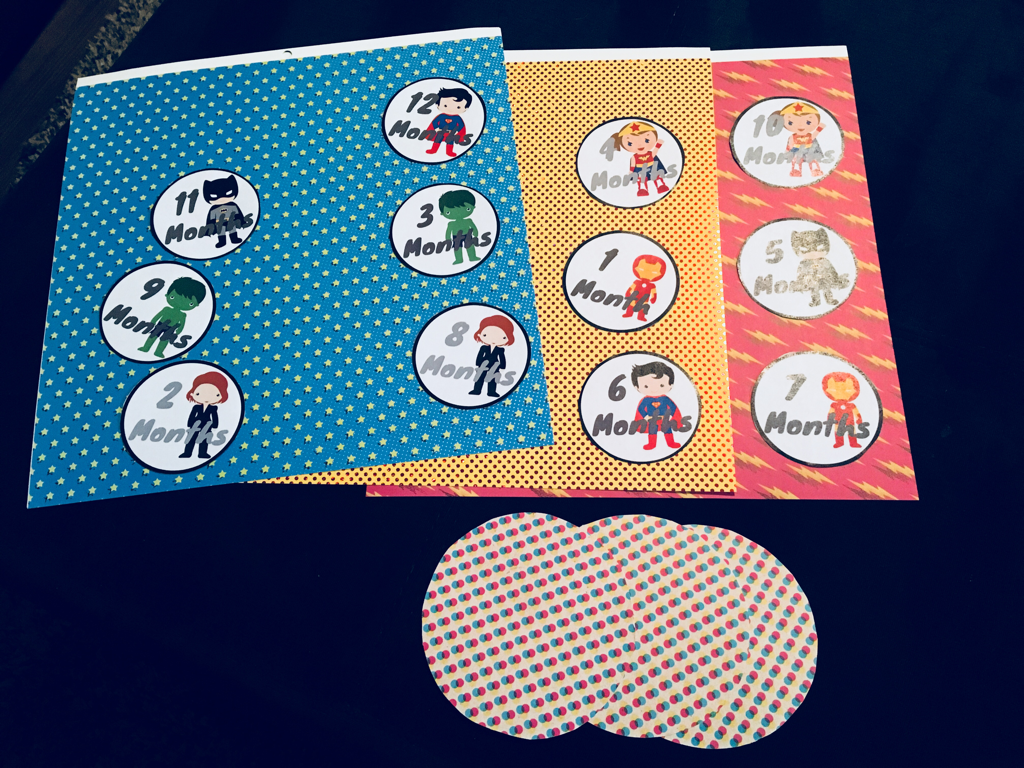
After you've cut out both parts, simply tape/glue them together. Ta-da! Your own superhero onesie stickers. Ok, I guess they aren't stickers. You can add tape onto the back if you want that feature. Your baby will only wear these for a few minutes while you take pictures anyways.
These are super easy and way cute! And you only paid for the scrap booking paper. If you use scrapbook paper you already have, you didn't want to pay a cent for these! You're welcome!
Thanks for reading! Please follow me on Facebook or Pinterest (links are at the top and bottom of the page). See you next time!
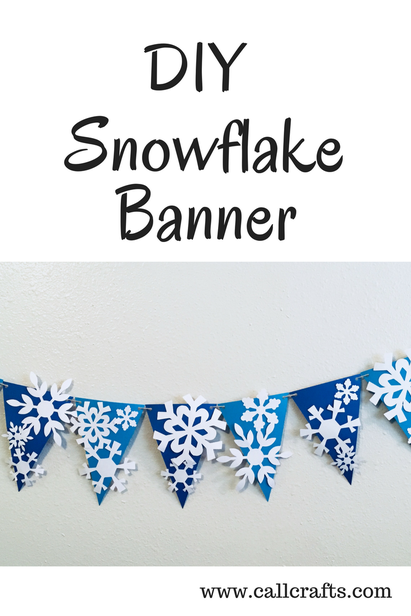
I really want to show this off! Look how beautiful is this!! It's my first Sillhouette project! First time using the machine. They weren't kidding when they said there is a steep learning curve.
Unfortunately, I don't have any other pictures of this project, but I can go through a quick tutorial and share some links I used to create this. You'll need: -Cutting machine -White Construction paper (6 sheets) -2 sheets of light blue paper -2 sheets of dark blue paper -Twine -Double sided tape -Hole puncher First, you'll go to this site: Holly Brooke Jones to download the template for the snowflakes. There are two separate sheets. Then on your cutting machine, you'll cut 3 copies of each sheet. This was the longest part, seeing this was my first time. (I will not share how I used my machine, there are plenty of site to help you with that. I might share a tutorial later...but not now) 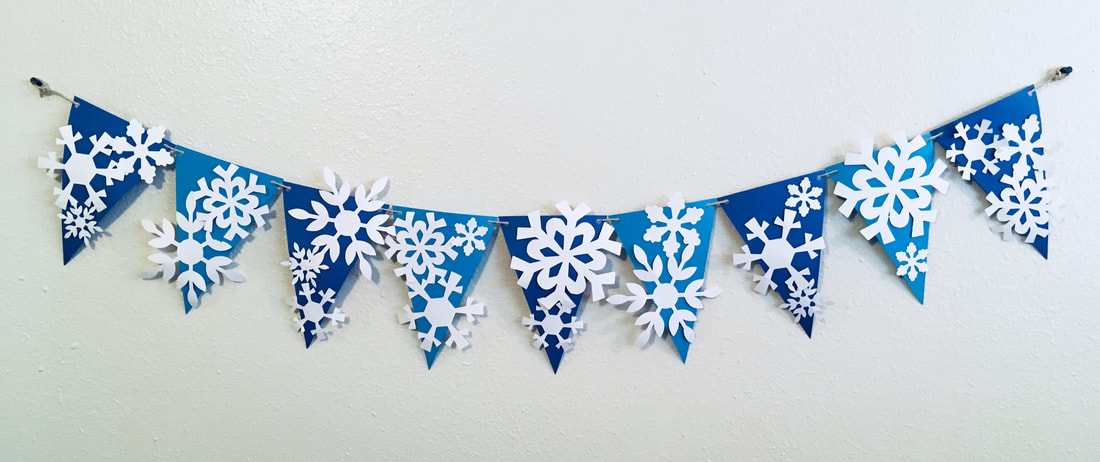
Afterwards, my snowflakes curled, so I placed under a book to flatten them out. It kinda worked... Oh well.
Next, you'll need to print out the template for your bunting. I got mine on this site: The Spruce. Then you'll print it out on the light and dark blue paper and cut it out. From there, you'll tape your snowflakes onto the bunting. Use a variety of sizes on the bunting. I suggest only using 2-3 snowflakes for each bunting. Use double sided tape. Once that looks just the way you want it, punch holes in the corners of the bunting and string it with twine, tie the ends into the loop, and hang it up! Thanks for reading. Please subscribe or follow me on my Facebook on Pinterest Page. See you next time! |
About Me
Hello! My name is Char. Thank you for visiting my blog, CallCrafts. I am a wife and mother who LOVES to make things. Read tutorials on crafts I've created to decorate my home, for parties, and more! Read more about me in My Story.
Categories
All
Archives
April 2018
Popular Posts |