RSS Feed
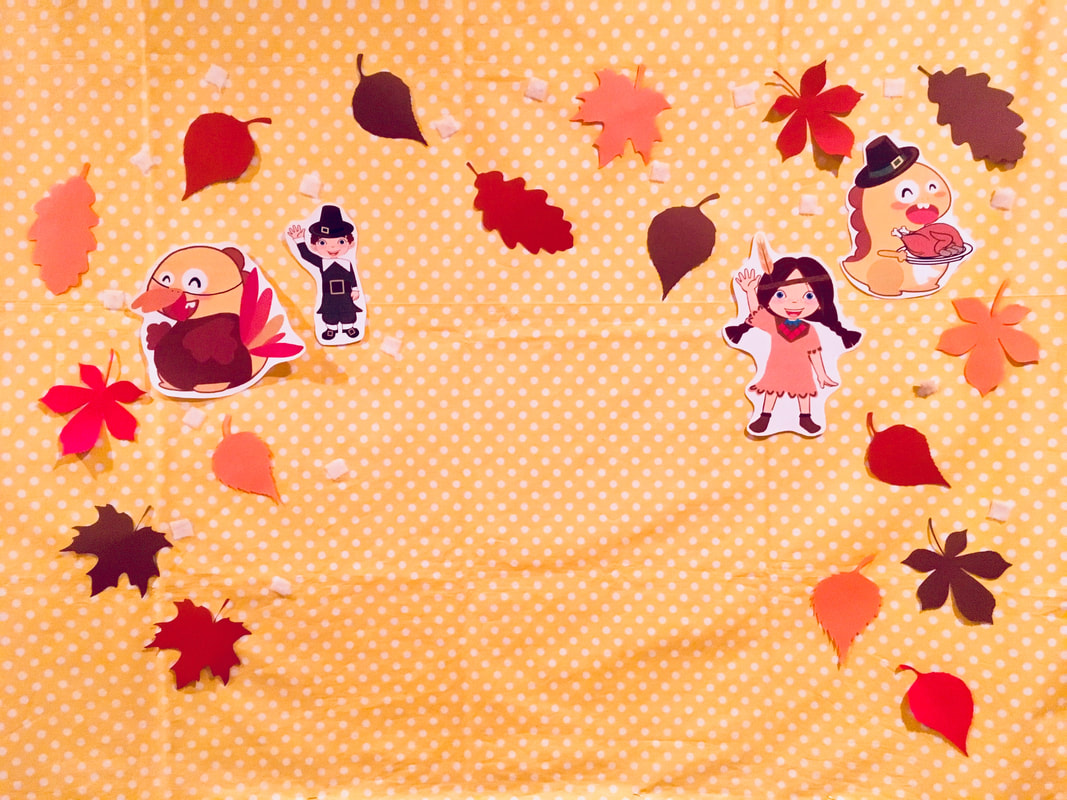
Uh.... Happy Thanksgiving? Somehow, November went by so fast. Before I knew it, it was over and I hadn't posted my Thanksgiving background. Nothing super fancy, I just found a few Thanksgiving VIPKID characters I liked and printed them out.
It was also hard making crafts that month because my printer had decided to malfunction. I've gotten a new printer that I like MUCH better. The leaves are from another crafting site. I've used this template for my Fall Leaf Banner. Click here to go to that post for the link to the template.
I also remembered why you don't use yellow paper on a yellow background (see photo on the right). You can hardly see them! No worries, I had enough leaves to fill the space.
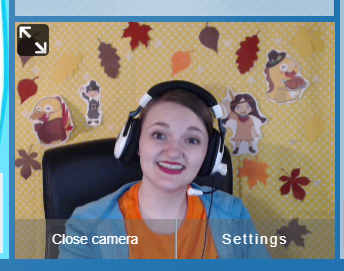
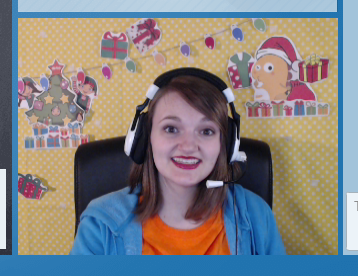
Since my last post, I've also changed how I light my classroom, I really like it! Plus it saves energy. I bought two selfie lights and use a lamp to fill in the background. It looks especially nice in my Christmas background photo below. #nofilter
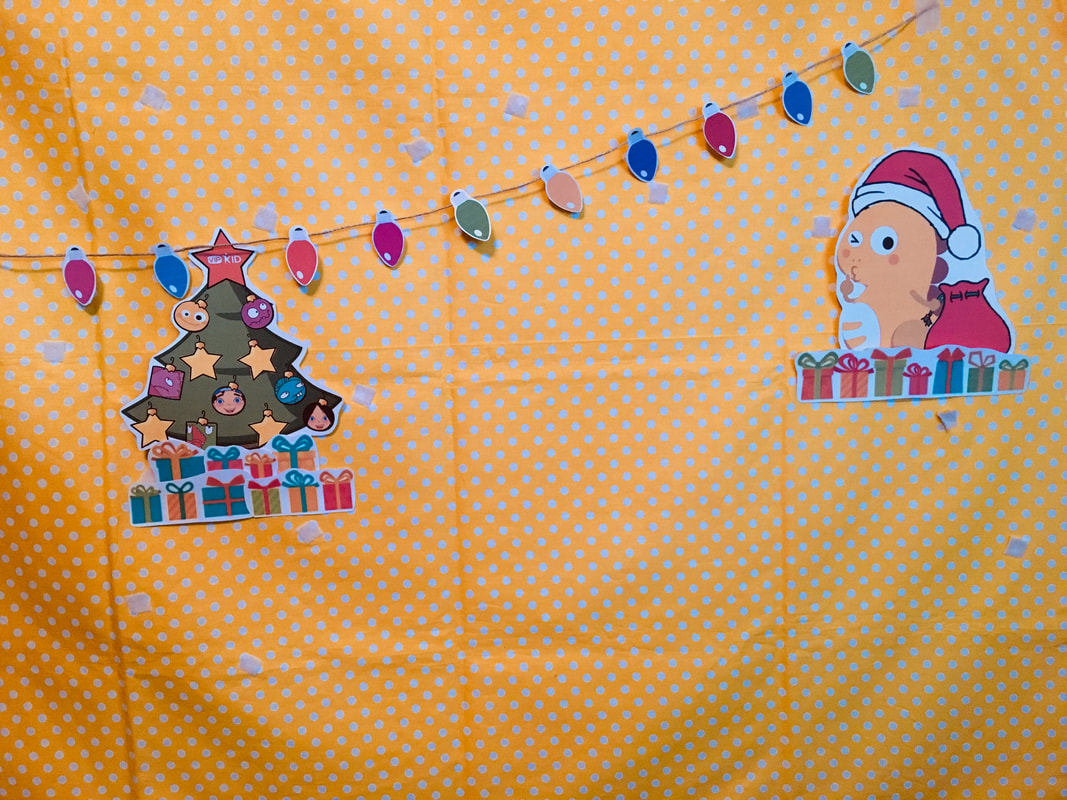
Here is my Christmas background! Shout out to Teacher Sara who created this Christmas tree! I don't know who doesn't love this tree. I was looking through the Christmas Background some of you shared on the Hutong and so many of you used it. It is pretty great. The photo on the left is my first draft. I looked at it from my screen after the first day and decided I needed a little more. So up came Elf Meg and Elf Mike. Then I added my presents.
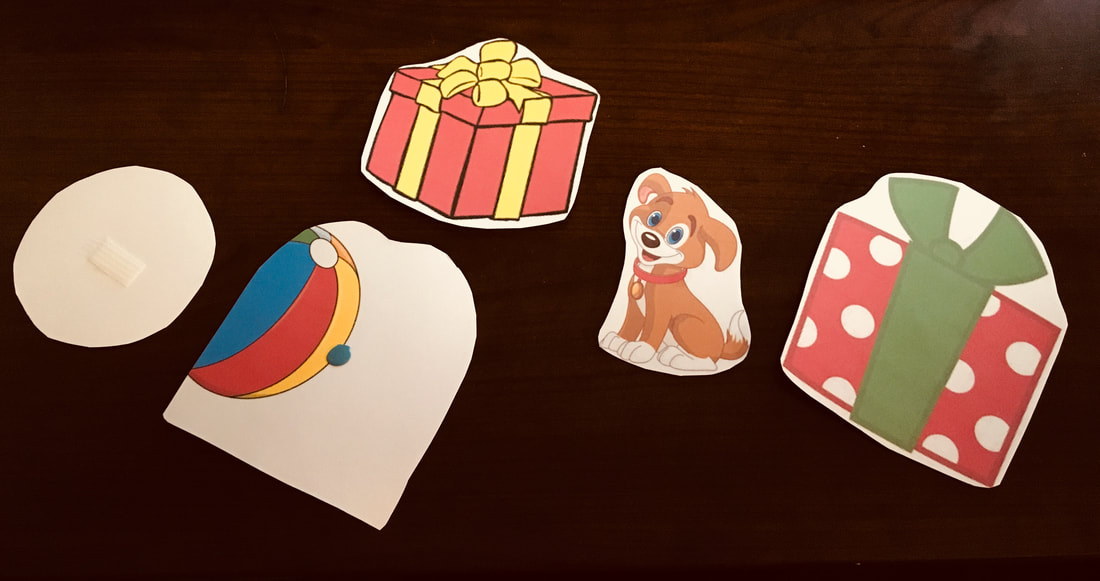
I've honestly become a little lazy with my rewards, my go-to is now Find the Star. I have so many new kids that it doesn't even matter. The kids have fun with it and it's so easy to make sure you're pacing is still on track. But this present reward is something I created for my Super-beginners. The ones who can't count in English yet and know very little English. I have them up on my background everyday as decoration, so my higher level students have no idea there's stuff behind them (ha-ha!).
Hopefully the photo is self-explanatory. I have the printout of the present and a printout of the gift inside. I wanted things that were generally gender neutral. I've chosen a dog, panda, puzzle, beach ball, and a bike. When it's time for them to earn a star, I pull a present off the wall and reveal what it is (in this case, the dog). The little ones like it because for some of these items they already know what the words are. Then I place the gift (in this case, the dog) back on my background and put the printout of the present on my desk. The gift (the dog) has the velcro, not the printout of the present. Merry Christmas VIPKID teachers! Have a wonderful holiday! Good luck on the Winter Bonanza! Please Contact Me if you'd like a copy of the present reward I made. For legal purposes, I can't have it posted on my site. Just promise it'll be for personal use.
P.S. If you think this will be a fun job to join, I’d love to help you through the interview process. You can email me with the mail icon below for any questions. My referral code (for when you apply) is: 04A7J3
0 Comments
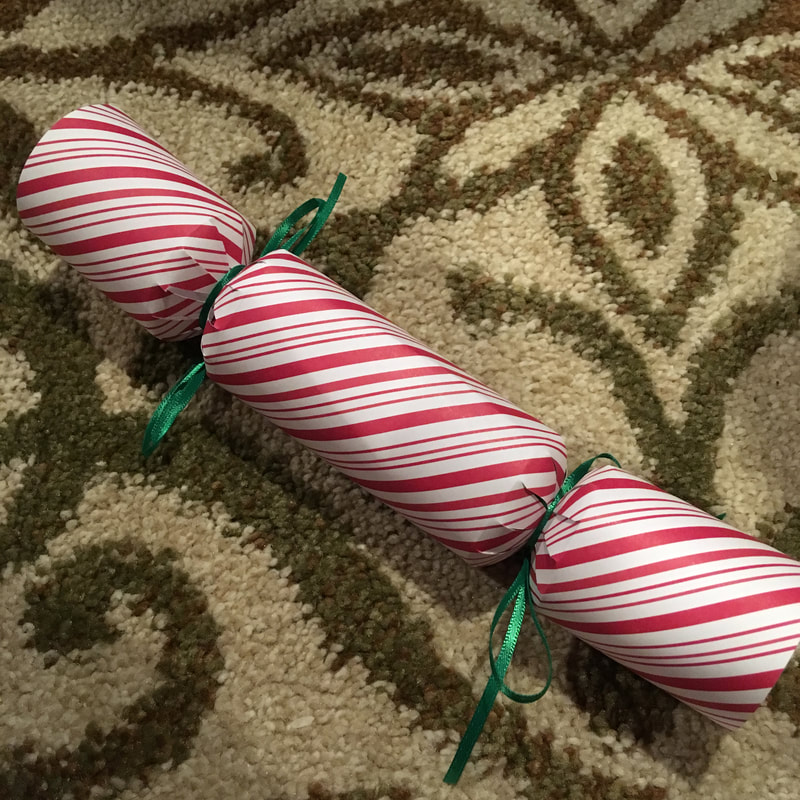
If you've never heard of Christmas Crackers before, you are missing out on a amazing tradition. It originated in England, which I lived for a few years. In our family, we take out these bad boys on Christmas Eve and rip them open with a sibling. In store bought ones, there are poppers inside the cracker so that when they rip apart, they make a fun pop sound (I did not opt to do that for mine).
Inside the cracker you get goodies, a paper crown, a toy (the type depends on which cracker you buy), and a super cheesy joke. Ever since we moved to England in 2015, we've done the tradition every Christmas Eve. There was even one year when we were on a cruise during the Christmas and New Year holidays and we're sitting in this fancy restaurant, all dressed up, opening up our Christmas Crackers. All around us are older folks who kept staring at us as we were laughing at the cheesy jokes we shared with one another and wearing our colorful paper crowns. Good times.
So, onto making these amazing crowns. I cannot take credit for this project. This is something I've found and wanted to share with you. I was inspired to do this project by Today We Craft. Click on the name and it'll take you directly to the site where you can read another tutorial for this craft AND download the printable template. As you see below.
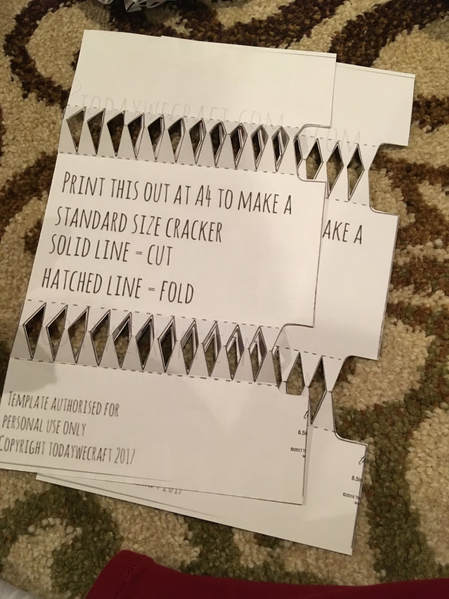
You'll need:
The downloaded template (see link above) 8x11 scrapbook paper (1 for each cracker you make) Scissors (or cutting machine) Tape or Glue Goodies Ribbon I bought several sheets of 8x11 scrapbook paper from Hobby Lobby (no affiliate links here, just sharing). Then printed out the template onto the blank side of the paper, for obvious reasons. On the template, it tells you to print on A4 paper, but 8x11 is also fine, you just end up with a shorter cracker than what is standard. It won't affect the width. You can easily cut this by hand, or you can cut with your Cricuit or Sillouette machine (I just got one for Christmas, I'm so excited to use it!!). On the template it tells you where to cut and where to fold. If you are doing this by hand, fold first and then cut. It'll save you the headache. 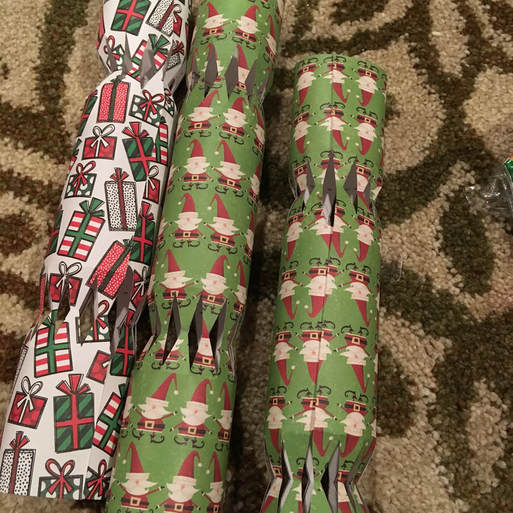
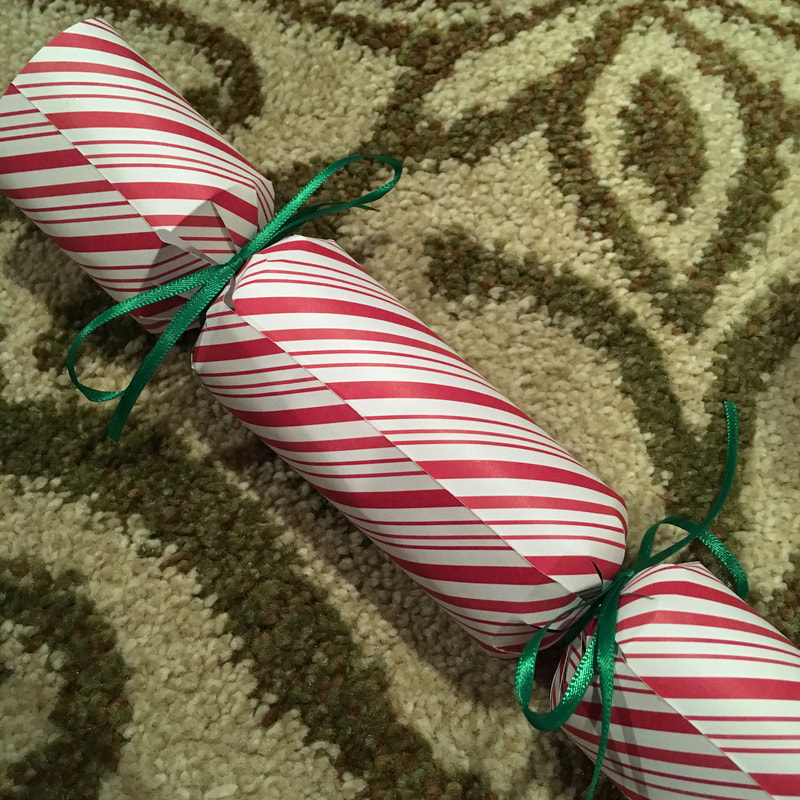
Once you've finished cutting, you are ready to tape this sucker together! If you are using tape, use double-sided tape. Put the glue/tape on first. Then roll it up, and line up the paper. I usually stuck the middle piece together first, but if you're having a hard time lining it up, start with an edge. But either way you do it is fine, as long as it's lined up and sticking together.
You're cracker is almost done! Now is the fun part! Tie up one end with ribbon first, then place whatever goodies you can fit into your cracker (I just stuck with candy, maybe I'll put in a cheesy joke next year). Then tie up the other end.
Your cracker is done! Yay! A simple, fun gift you can make for your friends and family. Keep in mind that the ends won't completely shut because of the nature of the paper, so don't put anything tiny inside. Standard "fun" sized candy is OK.
On the other site, they say that you can add additional decorations to your crackers, but I like to keep things simple and let the design on the paper do the talking. Thanks for reading! Subscribe, like my Facebook Page, or follow me on Pinterest if you want more Crafts for Gifting ideas. See you next time! 
Hey, VIPKID teachers! It's been a while, huh? Sorry about that, it's been one of those months. I never knew I would hate Daylight Savings. Our family is still trying to adjust. Especially me. I did create a new background. I'm thinking it might need a little tweeking, but here it is: Dino's Bakery.
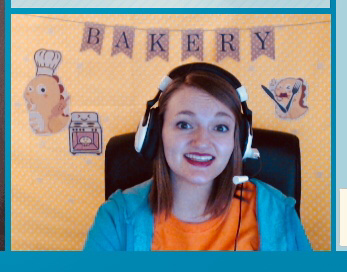
Pretty simple, the fun part is when you add the food rewards. I have several that I use regularly.
Snacks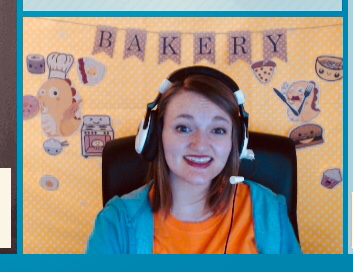
Donuts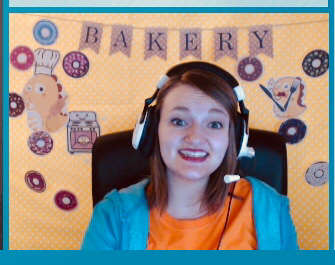
Hello Kitty Food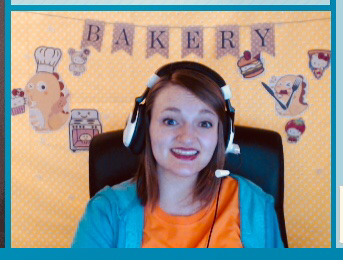
My favorite part is Hangry Dino.
I collected the parts from different sites and sources. The chef Dino and angry Dino is from a Facebook Group that I am a part of, VIPKID-Videos and Props. If you havent, you should join, they have SO MANY printouts. I’ve made some of mine, but now I can find whatever I need on that site. Its especially great for holiday themed Dinos (post coming on that soon...). So thank you all for your contributions, even if you're not named. I printed out the knife and fork from the internet. I just found a photo that I liked. Same with the oven. I’m not at liberty to post these photos on my site for copyright reasons, but you can easily find them online. Last, but not least, the banner. Its so cute, huh? I found it on this site: The Cottage Market It’s free to download, yay!! On the PDF it has one letter on a page, what I did to save paper on printing was take a screenshot of the letters I wanted and then resize them on Microsoft Word. That way, I easily got the size I wanted. After that, you just cut it out, punch holes in the upper corners, and string it on your choice of string or twine. Have fun with your classroom decorating! See you next time! Subscribe if you’d like to read more.
P.S. If you think this will be a fun job to join, I’d love to help you through the interview process. You can email me with the mail icon below for any questions. My referral code (for when you apply) is: 04A7J3
|
About Me
Hello! My name is Char. Thank you for visiting my blog, CallCrafts. I am a wife and mother who LOVES to make things. Read tutorials on crafts I've created to decorate my home, for parties, and more! Read more about me in My Story.
Categories
All
Archives
April 2018
Popular Posts |