 RSS Feed
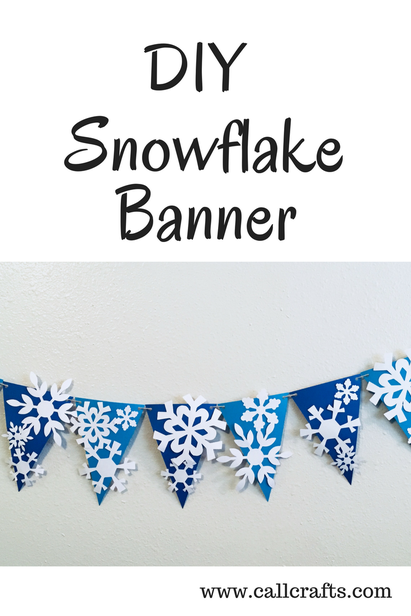
I really want to show this off! Look how beautiful is this!! It's my first Sillhouette project! First time using the machine. They weren't kidding when they said there is a steep learning curve.
Unfortunately, I don't have any other pictures of this project, but I can go through a quick tutorial and share some links I used to create this. You'll need: -Cutting machine -White Construction paper (6 sheets) -2 sheets of light blue paper -2 sheets of dark blue paper -Twine -Double sided tape -Hole puncher First, you'll go to this site: Holly Brooke Jones to download the template for the snowflakes. There are two separate sheets. Then on your cutting machine, you'll cut 3 copies of each sheet. This was the longest part, seeing this was my first time. (I will not share how I used my machine, there are plenty of site to help you with that. I might share a tutorial later...but not now) 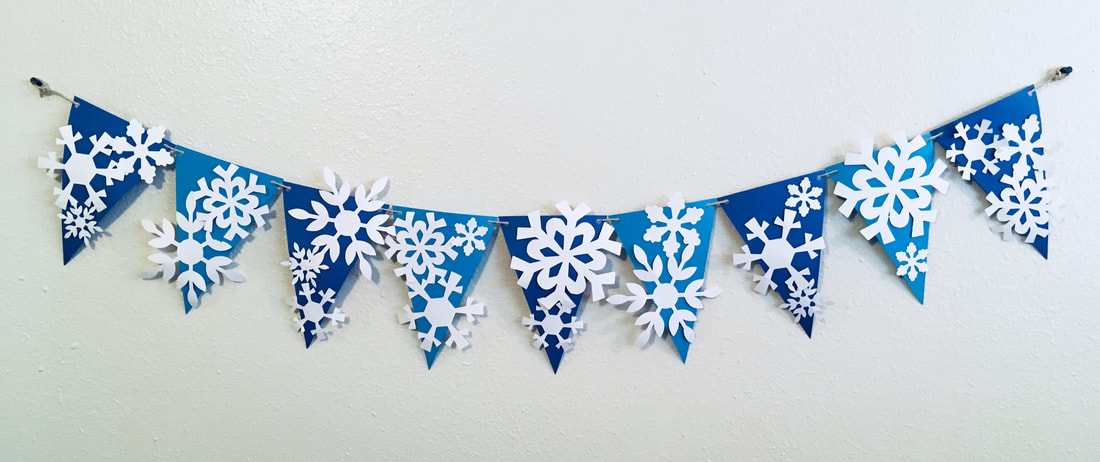
Afterwards, my snowflakes curled, so I placed under a book to flatten them out. It kinda worked... Oh well.
Next, you'll need to print out the template for your bunting. I got mine on this site: The Spruce. Then you'll print it out on the light and dark blue paper and cut it out. From there, you'll tape your snowflakes onto the bunting. Use a variety of sizes on the bunting. I suggest only using 2-3 snowflakes for each bunting. Use double sided tape. Once that looks just the way you want it, punch holes in the corners of the bunting and string it with twine, tie the ends into the loop, and hang it up! Thanks for reading. Please subscribe or follow me on my Facebook on Pinterest Page. See you next time!
0 Comments
Your comment will be posted after it is approved.
Leave a Reply. |
About Me
Hello! My name is Char. Thank you for visiting my blog, CallCrafts. I am a wife and mother who LOVES to make things. Read tutorials on crafts I've created to decorate my home, for parties, and more! Read more about me in My Story.
Categories
All
Archives
April 2018
Popular Posts |
