RSS Feed
Ha. I'm so punny.
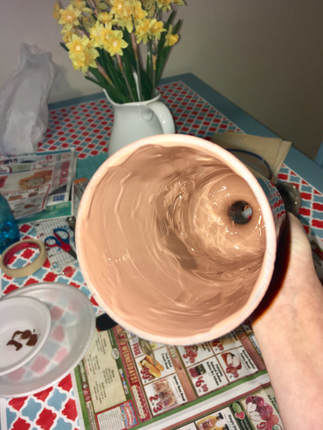
This craft came to be because I needed something tall-ish for my bathroom. We moved to a new apartment and the countertop is long. Believe me, I love the space, but it needed a little something or it would end up looking empty and lame. I let the idea marinate in my mind for a month or two to figure out what I wanted there. Soon I decided I wanted flowers with a couple of pieces next to it in the corner. Great. How to get a vase that isn't expensive and something I like. I don't know, but I don't really like the vases I kept finding at craft stores. Some of them are too elaborate for me, others aren't the shape I'm looking for, and then others just cost too much money. One day, I was at Walmart, getting some things I needed. I had the time and energy, so I decided to look around and see if I could find anything I needed for my crafting projects (yea, I keep a to-do list of craft projects, and things I need for them, on my phone). First I found these beautiful flowers and grabbed two stems. With these flowers, I decided I needed a tall, skinny vase to go along with it. So I turned around and looked at the vases available. Then I found the bottomless wine bottle. It was the perfect height and width. The only problem was it was a clear bottle. I wasn't fond of the idea that you could see the stems of these flowers. But then I thought, what if I just painted the bottle? I did a quick search online and found several different ways people had done it and found a method I liked. This is the method I will share in this post. This project is simple, but a little time consuming. But all you do is take the color pain you want and spread the paint all through the inside of the bottle. Most people tip the bottle around until the paint covers the entire bottle. That took a little too long for me, so I simply grabbed my brush and spread the paint around. This is one benefit of having a bottomless bottle.
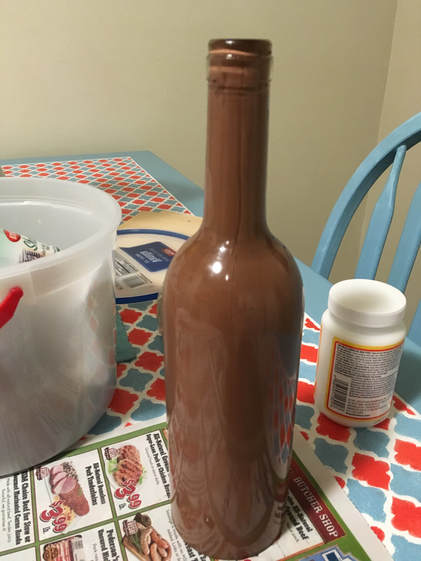
Then you tip the bottle over and let it dry. This took a couple of days because I had the bottle standing right up, so the part that needed to get dry wasn't because it was covered. After a couple of days, I got smart and flipped it over and it dried in a couple of hours.
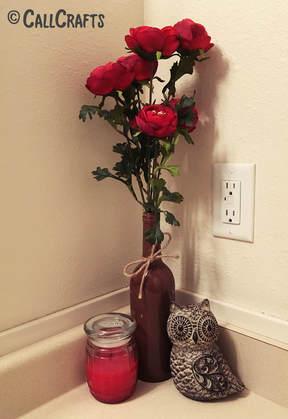
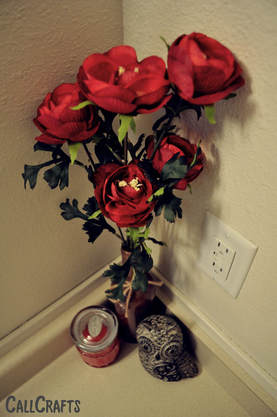
And done!! Still love this piece and the flowers that go with it. See how well they compliment the counter? It really adds to it. I also added a little twine bow for extra cuteness. So easy and this project cost me $5. Thanks for reading, for more craft ideas, follow me on Facebook or Pinterest. I'll set up a subscriber email soon, don't worry. This is still a new blog.
0 Comments
Your comment will be posted after it is approved.
Leave a Reply. |
About Me
Hello! My name is Char. Thank you for visiting my blog, CallCrafts. I am a wife and mother who LOVES to make things. Read tutorials on crafts I've created to decorate my home, for parties, and more! Read more about me in My Story.
Categories
All
Archives
April 2018
Popular Posts |