 RSS Feed
I'm really excited for this post today! It's so easy to make!! Like seriously. So easy.
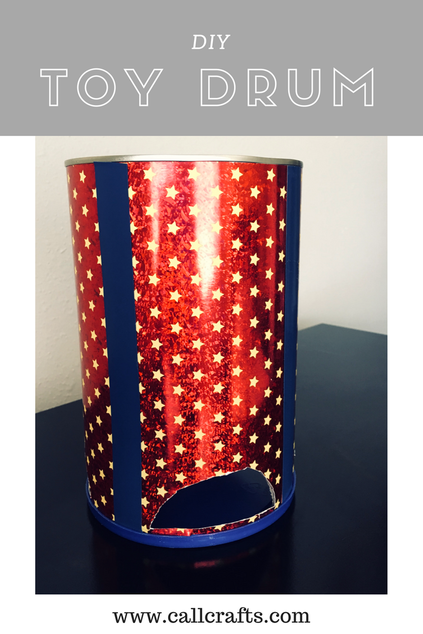
This all started because my 8 month old son now enjoys making sounds. We've been playing the piano, trying out my ukulele, and now playing with drums. I am a musician and so I've been acquiring a few instruments. I guess you can say that I have a collection. Either way, my son loves it. This little idea just came to me. My son was playing with a snare drum I have and I thought, "Wait a minute! I have an empty formula tin, I can make a drum!" And that was that. It took some tinkering, but it turned out great. At first, I wanted the sound to be more resonant, then the scrapbook paper wouldn't stay on the tin, etc.... I'll guide you through the process.
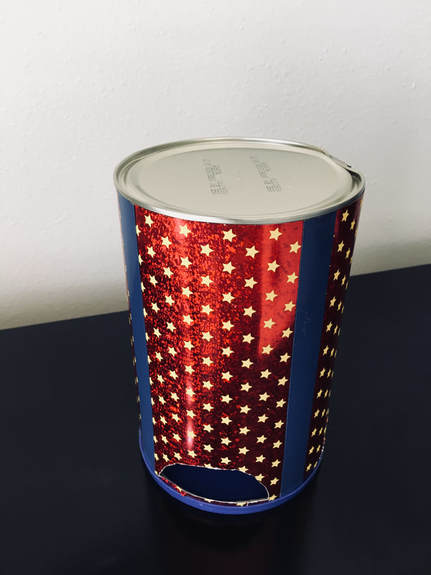
What you will need: Formula tin can (or any cardboard tin really, a Nesquik tin is about the same size) 12X12 scrapbook paper of your choice Craft knife Box Cutter Regular Tape or Glue Colored Electric Tape of your choice for decoration Sorry I don't have step-by-step pictures. There are so many times I get caught up in making the craft, solving the problem, that I don't remember to take pictures. But if you skim through tutorial posts, like me, I'll do this: I'll enlarge the title of the step and then write a description if you need more details. (If you're also like me, you've probably already figured out how it's done...) Step 1: Clean the Tin and Cut Sound Holes
Cleaning the tin is obvious, but this is a tutorial and that was the first thing I had to do.... On to cutting the sound holes!!
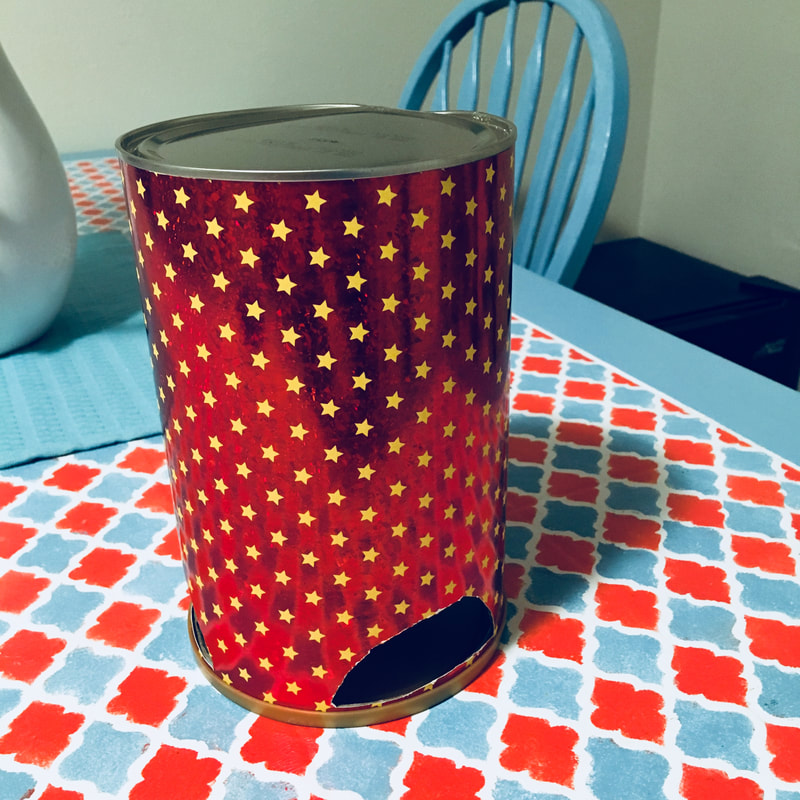
Your drum is already going to resonate (create a sound) without the sound holes. However, your drum become more resonant with them (meaning they bang louder). I really liked the tin sound it made when I banged on the tin without the cover, but I wanted to be able to have that sound all the time, sound holes make that possible. Creating sound holes allows the sound to come out wherever the drum is positioned. So this is where you need your box cutter. Simply draw 3 half circles around your tin where you plan to cut your hole. Then cut it out with you box cutter. Leave the metal rim on. You're going to put the lid back on later. I made three sound holes and I simply eyeballed where they should be placed. Remember, this is for a baby. He's played with it for 20 minutes and he's already tried to eat it. Step 2: Cut Out and Tape on your Scrapbook Paper
You'll need to cut it out to make sure its the right size. With your tin, measure out the height of your tin. Once your paper is the right height, you'll notice it's not wide enough to cover your tin. Use your excess paper to cover the rest. Cut that out the correct height and tape it on.
Step Three: Cut Out the Scrapbook Paper Covering the Sound Holes
This step you will need your craft knife. It's a little more precise than a box cutter. I guess a box cutter could work too. Leave the lid off and cut the scrapbook paper from the inside of the tin, using the edge of the sound hole as a guide. I also left paper to cover the rim as well. I'm sure your drum will look fine without that detail, but I like that little touch.
Step 3: Tape on the Colored Tape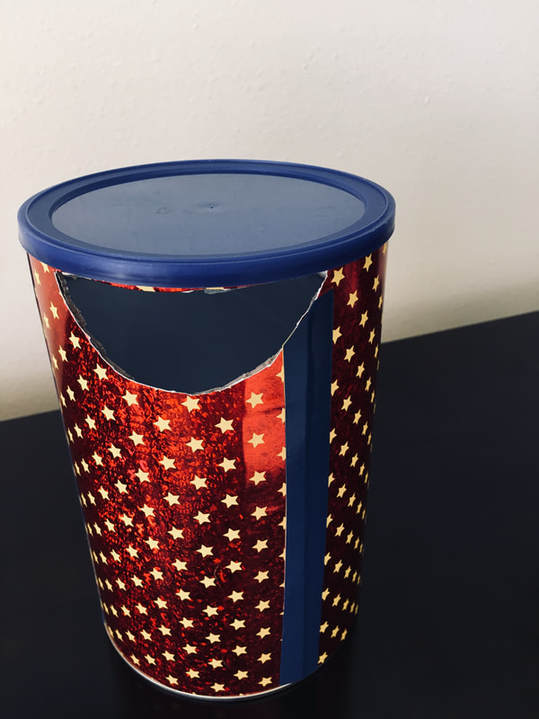
You don't have to do this part. I just hate glue and my paper wasn't staying on like I wanted it to. This wasn't what I originally wanted the drum to look like. But then on the other hand, it looks more like a drum.
I ended up with four of these taped lines on my drum. You can do more or less. Just make sure the tape you chose is opaque enough. I originally used yellow and you could see right through it. So I went with blue. Pull out some tape and lay out on the length of your drum, the end lining up to the rim. Then cut it off at the rim on the other side. If your tape is going over a sound hole, cut it at the edge of the sound hole (like you see in photo above). Once you have finished, place on the cap.
That's it! Give them a kitchen utensil and watch them bang happily away! With the plastic lid and the tin bottom, they have two different ways to make sounds with their drum (technically three when they hit the sides). Makes things more interesting.
Thanks for reading! If you liked this post, follow me on Pinterest or Facebook. The links are above and below. See you next time!
0 Comments
Your comment will be posted after it is approved.
Leave a Reply. |
About Me
Hello! My name is Char. Thank you for visiting my blog, CallCrafts. I am a wife and mother who LOVES to make things. Read tutorials on crafts I've created to decorate my home, for parties, and more! Read more about me in My Story.
Categories
All
Archives
April 2018
Popular Posts |
