RSS Feed
Wow....it's been so long! Sorry guys! I accidentally let the time slip by! I can't believe it's been so long!! Well...I'll probably do two posts this week to make up for it. Can't make any promises though....
Had a super fun time making this project. It's pretty simple, though the cutting take a long time. If you have a cutting machine (Silhouette or Cricut) PLEASE use it. It'll make it look super nice. And then you don't have to buy vinyl (yay for being cheap!!). Here's what you need: Freezer paper Cutting device (craft knife or cutting machine) T-shirt (color and size up to you) Iron and ironing board A piece of cardboard Brush Fabric paint (color of your choice) Get a photo of the design that you want. I chose the VIPKID logo below because I work with this company (I've been so tired this month getting up at 2:30 every day...part of the reason why I haven't been blogging as much). I love this job so much and I wanted to look more like I work with the company. I found this tutorial online with someone else. But this just needs to be shared with everyone multiple times. You know, having the freedom to make any kind of shirt you want? Heck ya! Get your freezer paper and cut it out to 8 1/2"x11". You'll print your design onto the non-glossy side of the paper (the glossy part is what sticks the paper onto your shirt...). I estimated what size I wanted my shirt to be (and it worked!). Unfortunately, with this tutorial, you're limited on what size your design can be. But maybe you can print out multiple parts of you design to make it bigger. Get creative. 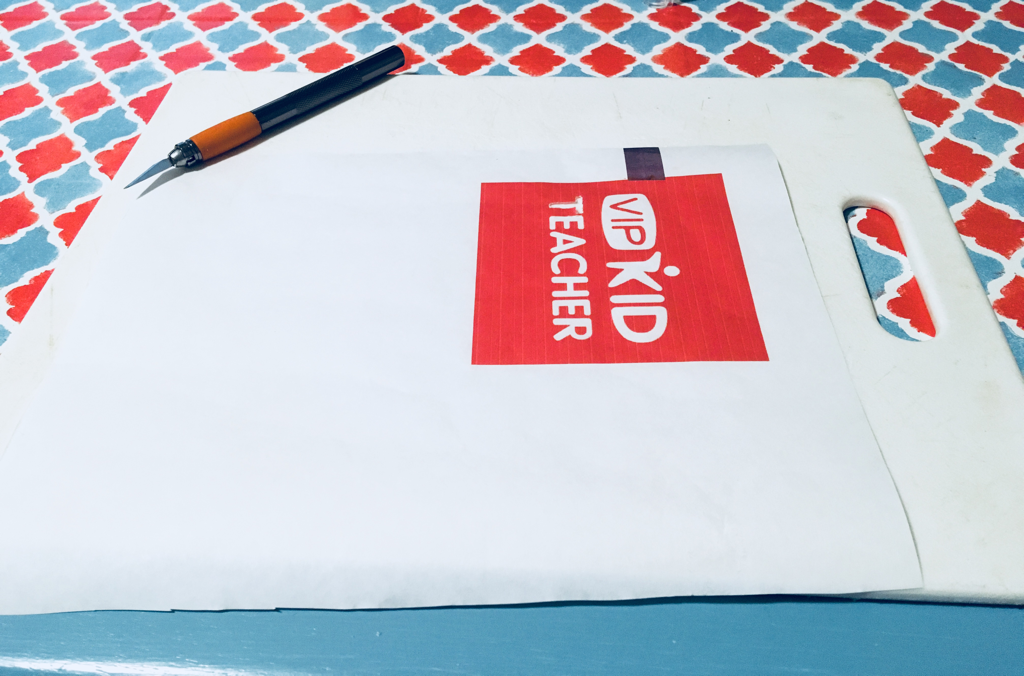
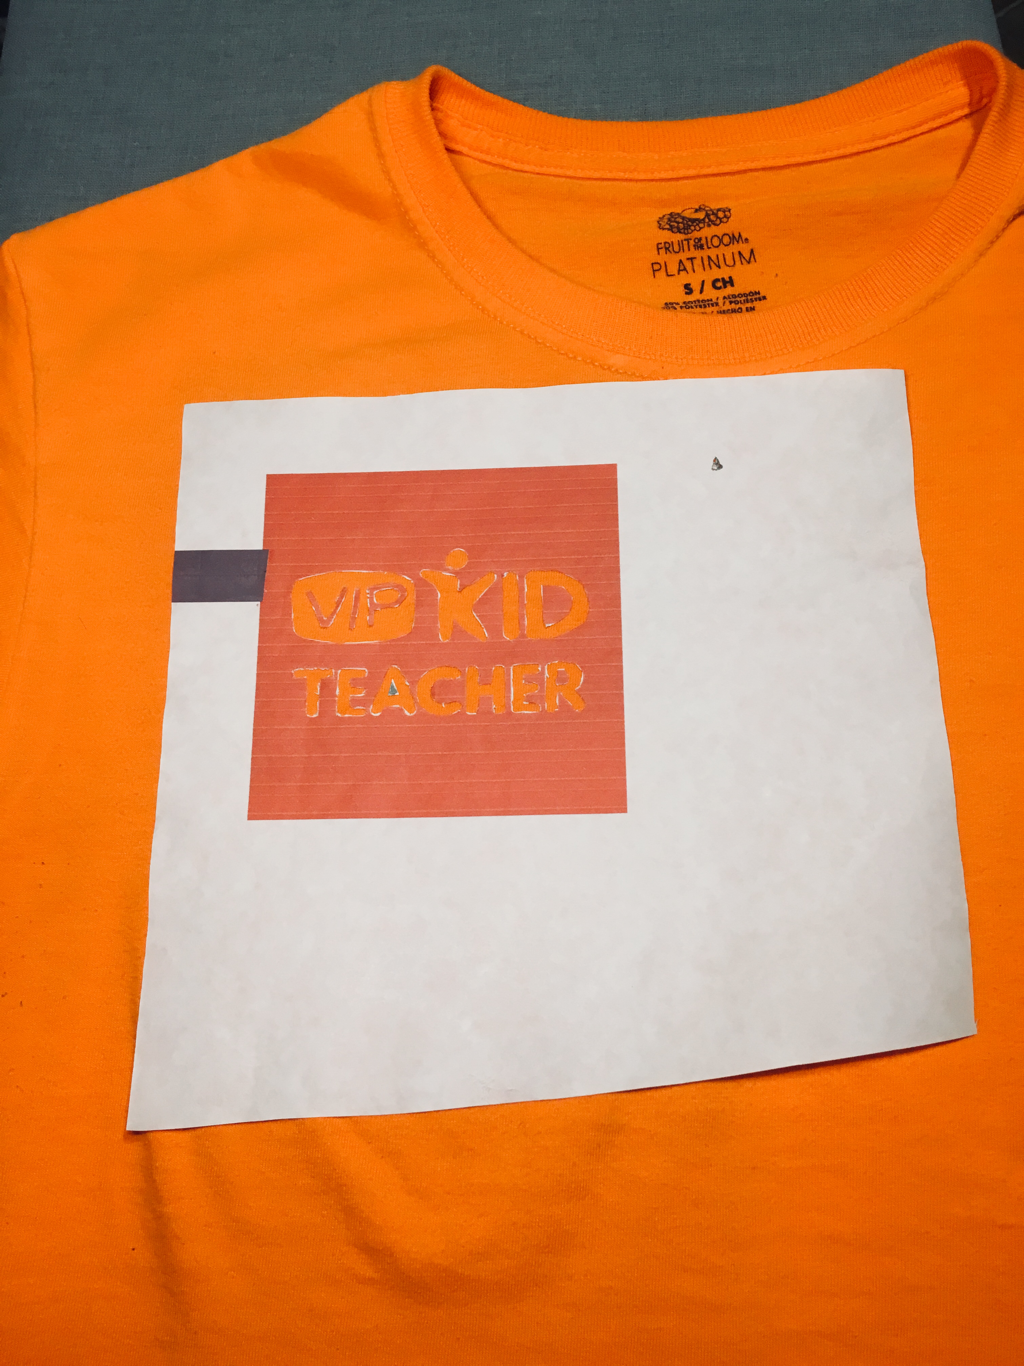
Now, we must cut out the design. This took me about a half hour to do, because I was cutting with my craft knife. In the image below, you see the complete project. Not bad, but definitely looks homemade. Since this logo is only going to be about a quarter inch big on a computer screen or tablet, I'm not too worried about it.
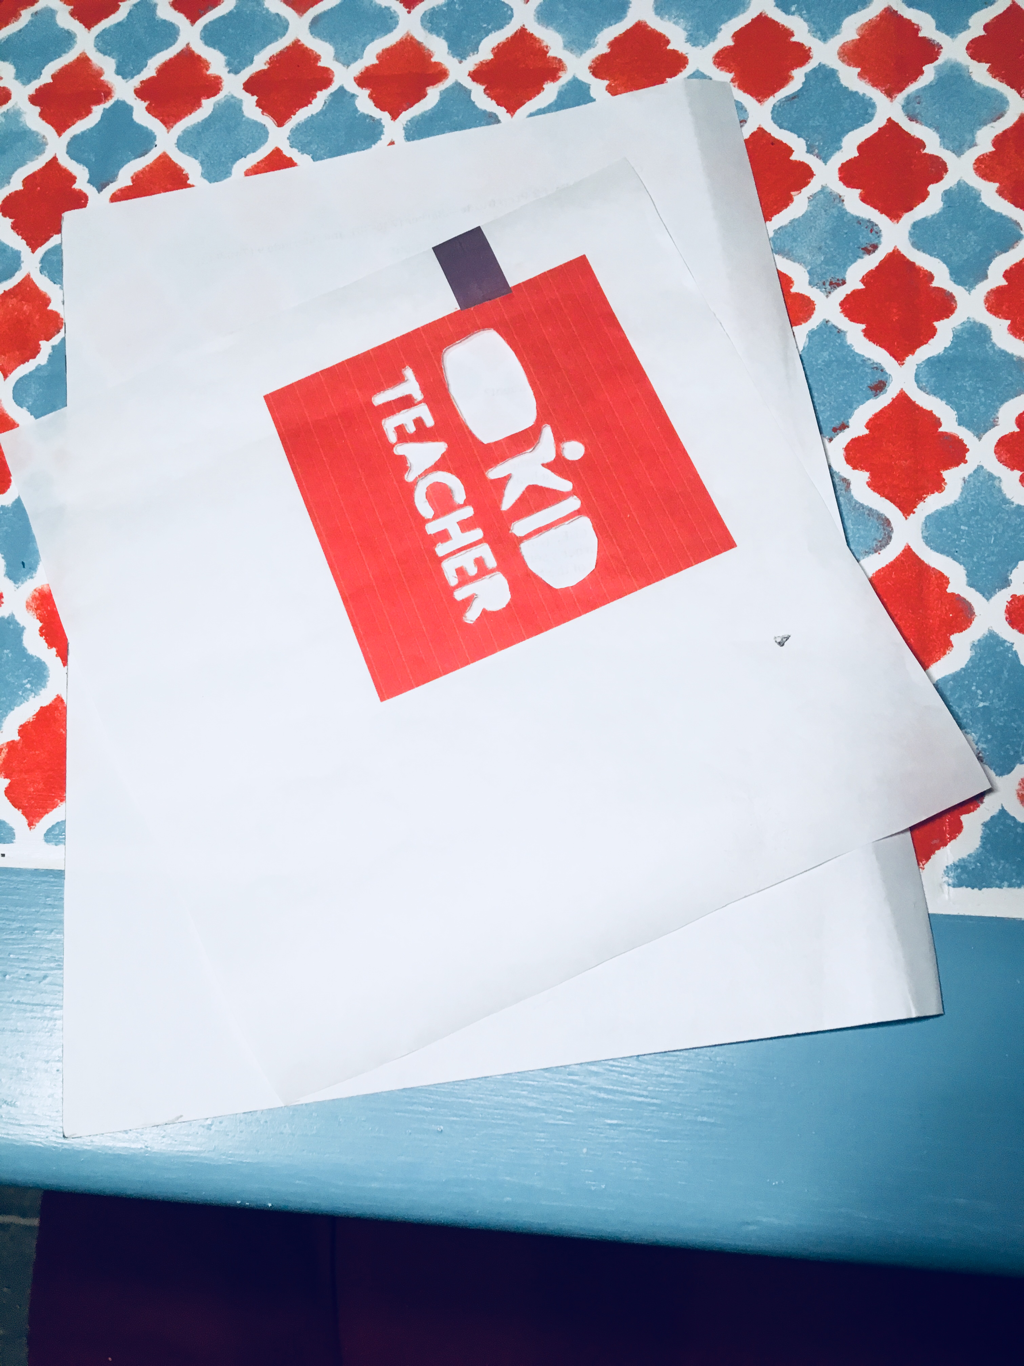
What's not in the photo above is the cut out of the letters in the box or the space for the letters A, R, and D. But you will need to cut them out individually and place them off to the side. I have them, I promise.
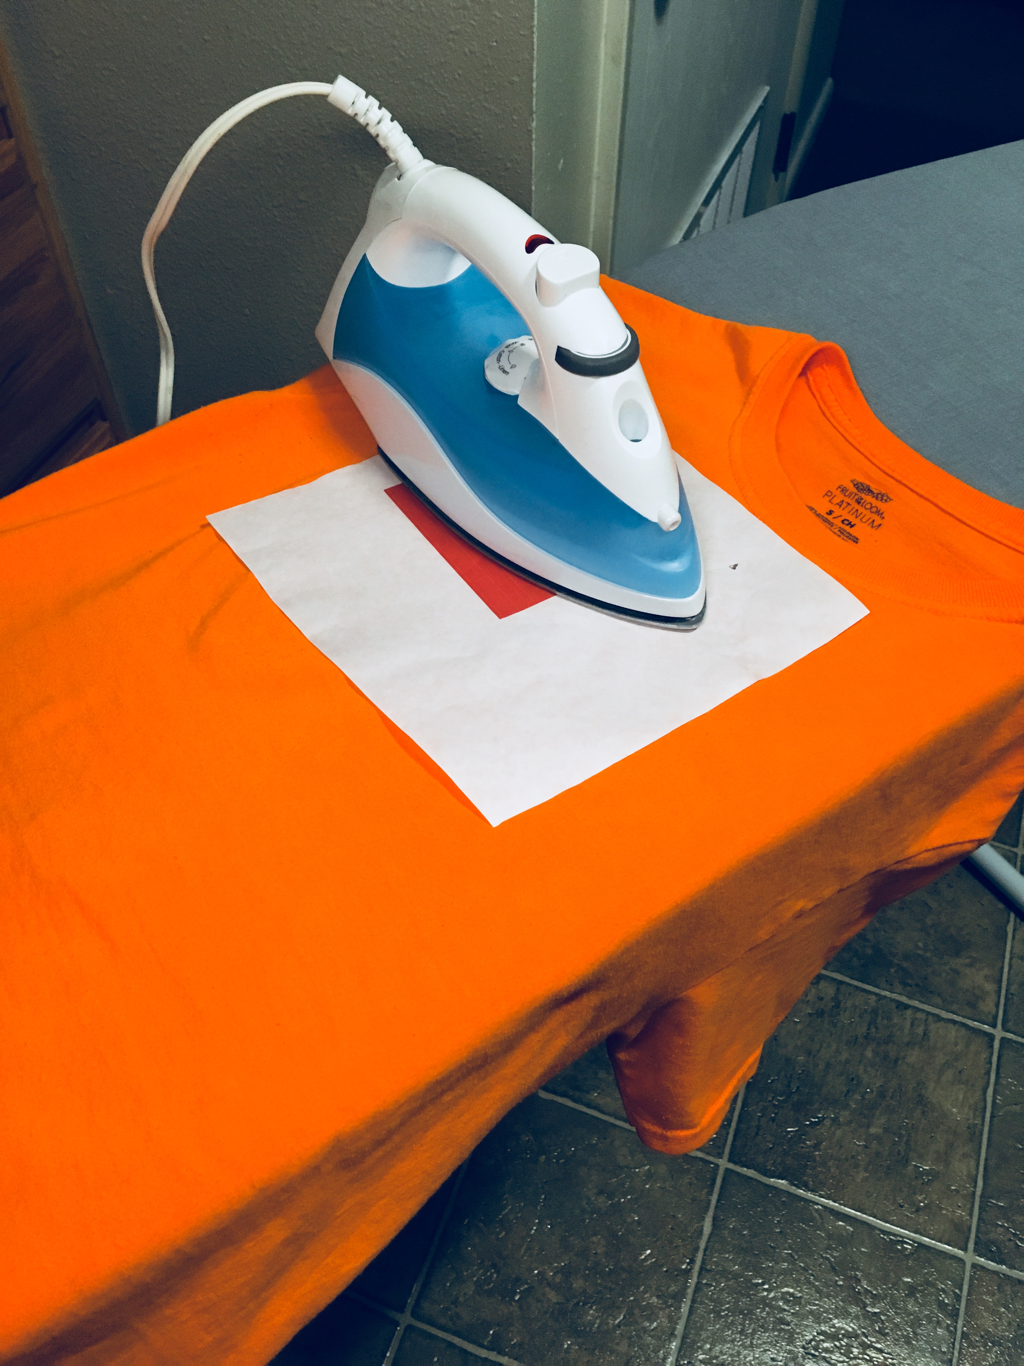
Now, place your logo onto your shirt and iron it on. Get your piece of cardboard (I cut out a piece of cardboard from a box I had just lying around) and place it in your shirt. Probably prevents sticking, but I don't want to find out. I used the wool setting on my iron. Don't forget to put on the little parts that make up the letters like A, R, and D. I set it on the shirt for a minute just to make sure it was on. I didn't want the paint to bleed through the lettering.
Now it is time to paint! On the tutorial I saw before, I read that you only need 4 coats of paint. I did six (just in case, the paint didn't look like it was covering the orange enough). Don't do six. Just stick with 4. I had a really hard time peeling off the paper when it finally got dry. Well, after I finished painting. I let it dry overnight. I did this project pretty late into the evening. It seemed like an easy thing to do. 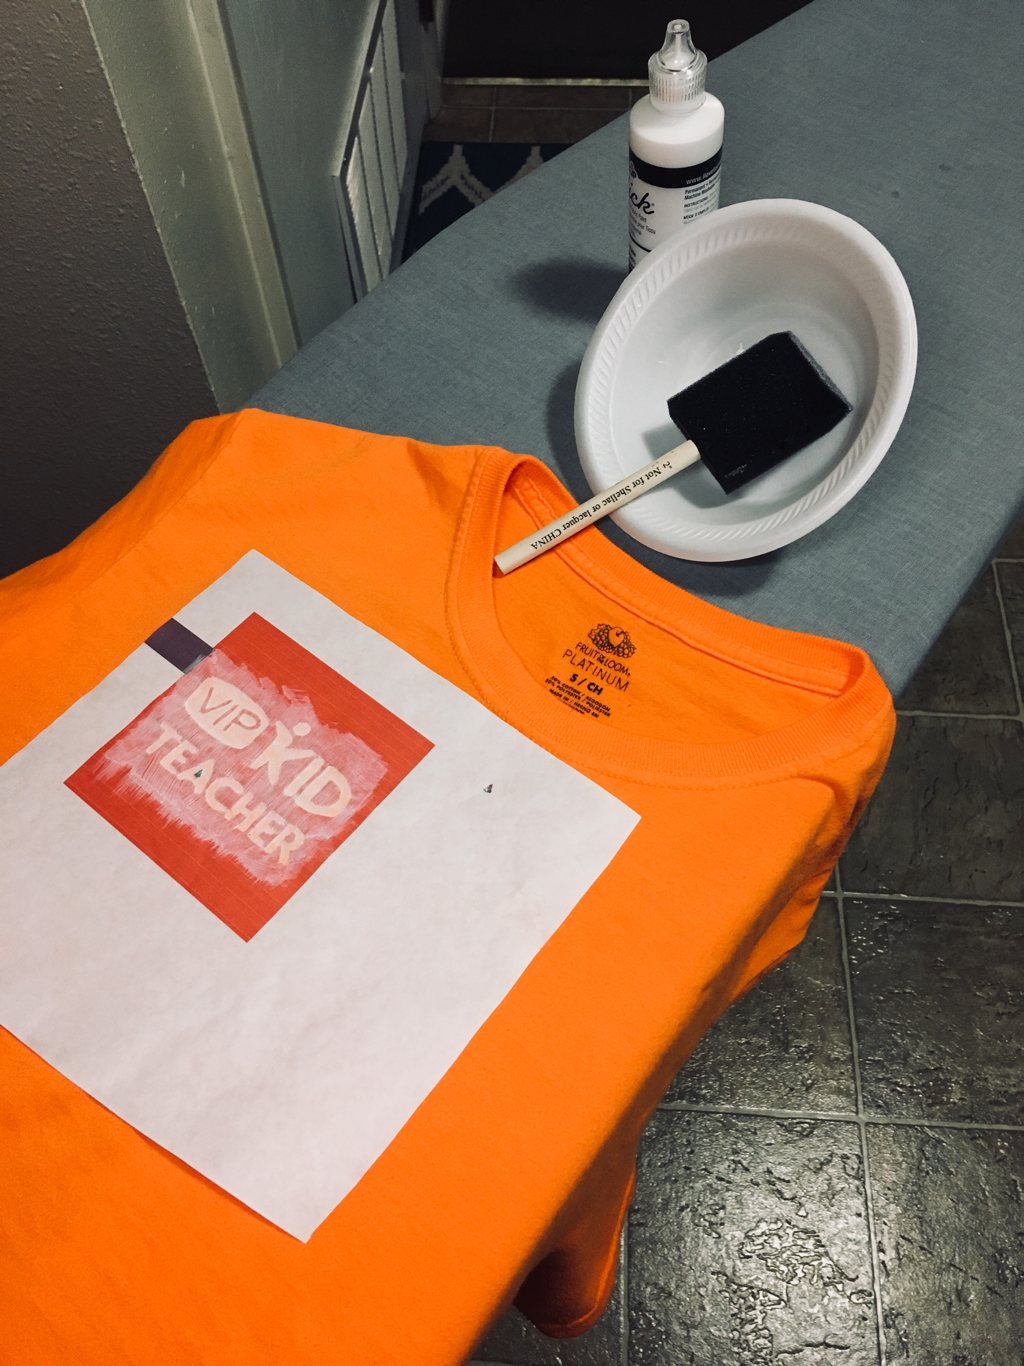
The next morning, I eagerly started peeling off the paper to see my creation. But like I said before, I put on too much paint. It became very hard to peel it off. I ended needing a tweezer to get the little parts. So, learn from my mistake. That's we share things, right? To learn from each other? I hope so...
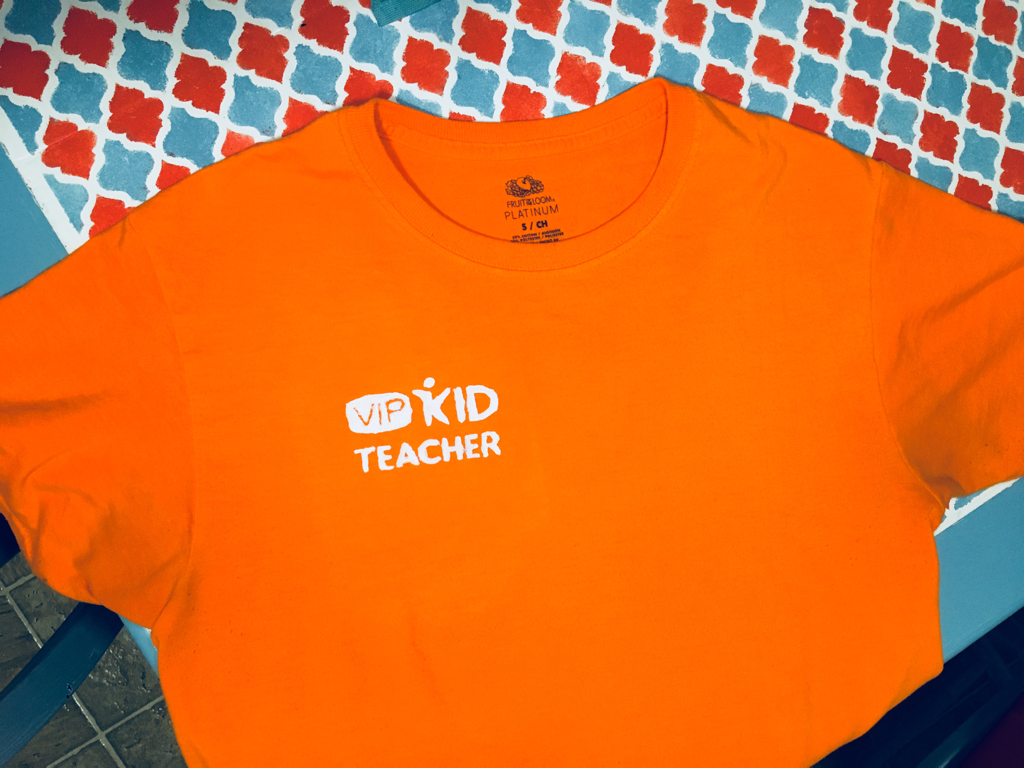
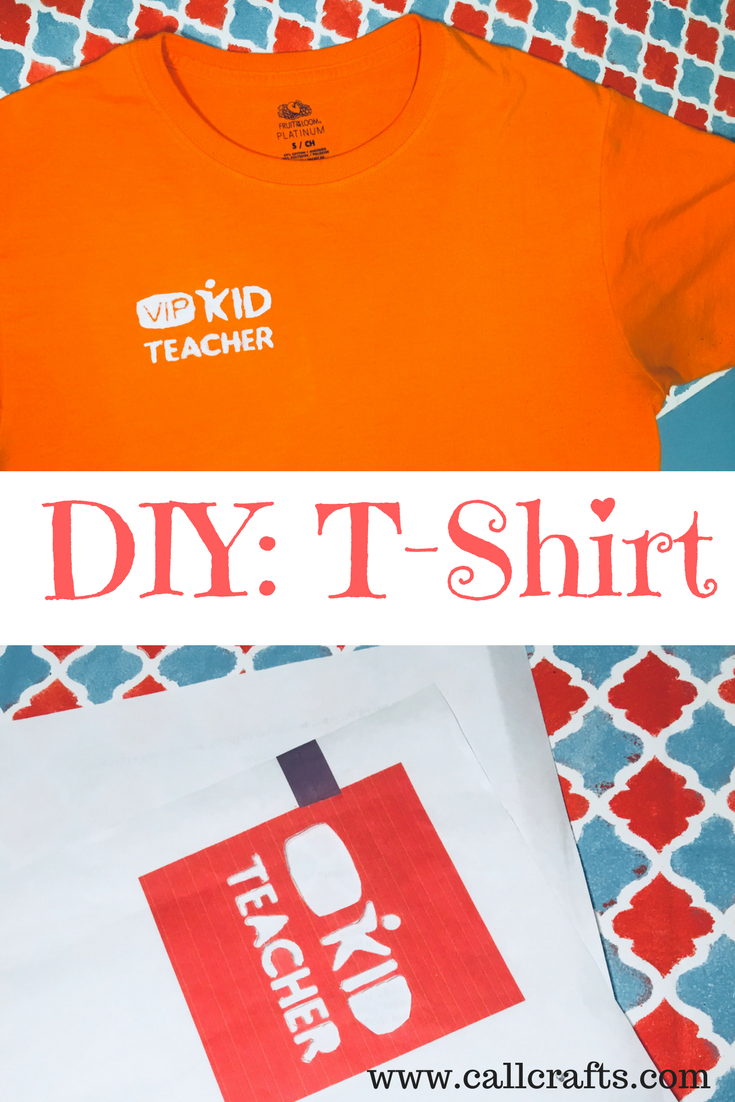
Ta-da! My very own VIPKID shirt! I'm pretty proud with it, seeing this is my first shirt. I learned some things, made mistakes on the way. And now you've learned from them too! Again, I'm not too worried about how homemade it looks because on a computer screen, you can't tell.
Thank for reading! Shout out to Teacher JulieAnn. You can see her tutorial here. Her shirt also looks nicer. This post is not meant to take away from what she wrote, but to add onto it. It gives extra pointers so that your shirt will look amazing. See you next time!
0 Comments
Your comment will be posted after it is approved.
Leave a Reply. |
About Me
Hello! My name is Char. Thank you for visiting my blog, CallCrafts. I am a wife and mother who LOVES to make things. Read tutorials on crafts I've created to decorate my home, for parties, and more! Read more about me in My Story.
Categories
All
Archives
April 2018
Popular Posts |