RSS Feed
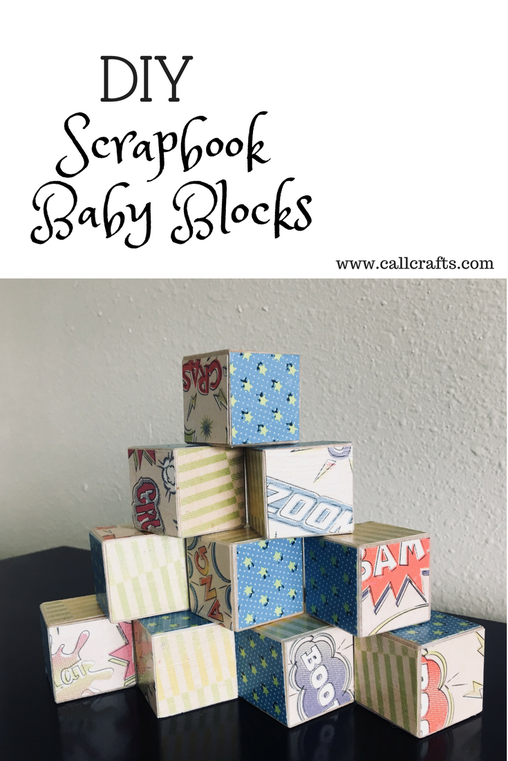
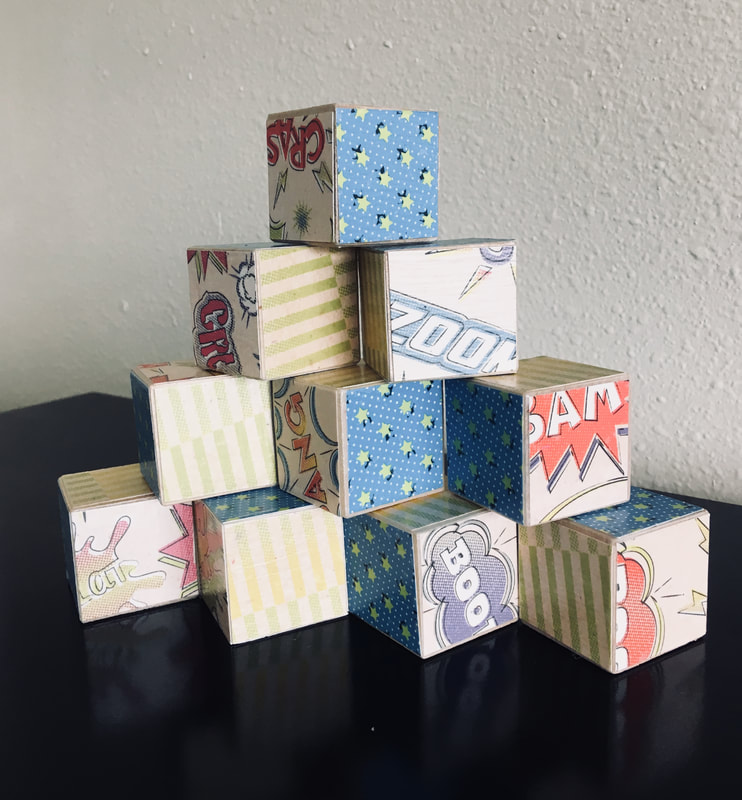
These are so cute, huh? They are truly a labor of love for my baby boy. They are not going to look like this over time. But that's OK. I had fun making them. And that's the point of crafting for me.
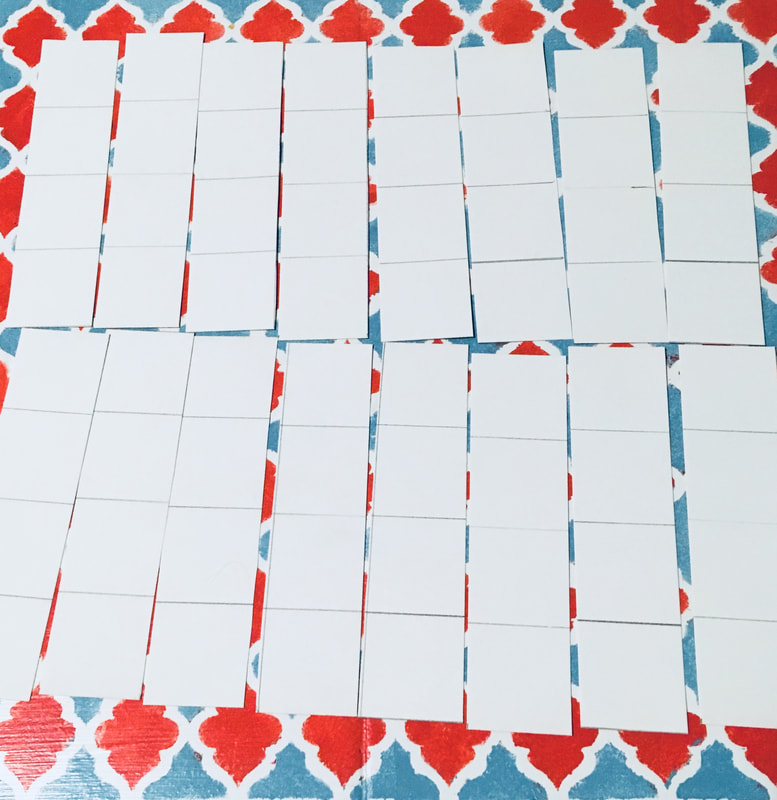
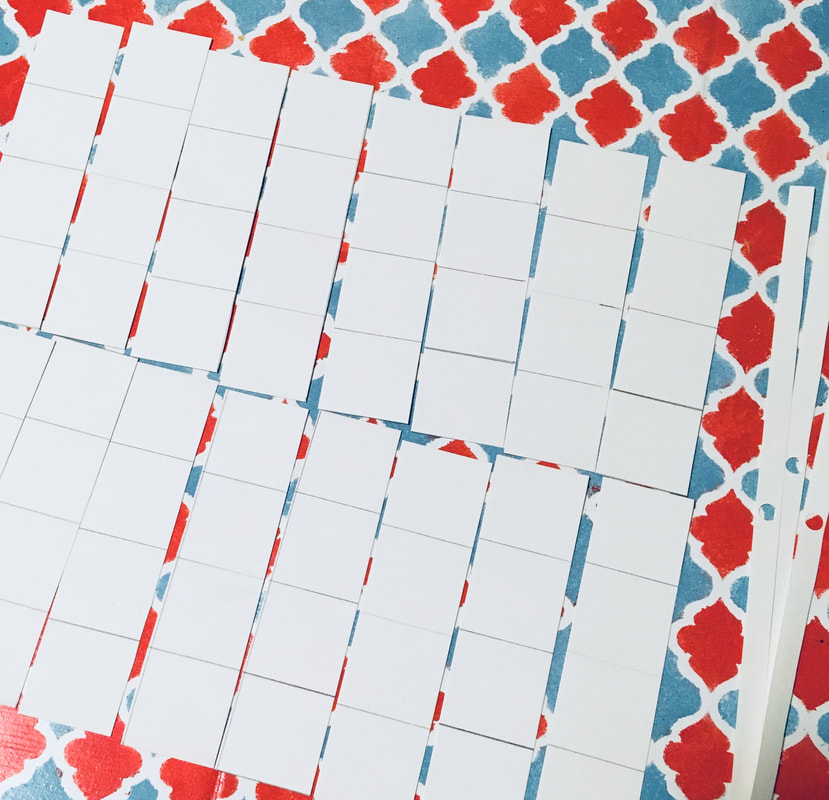
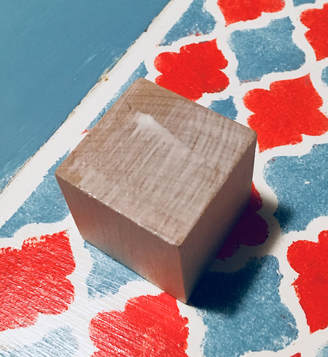
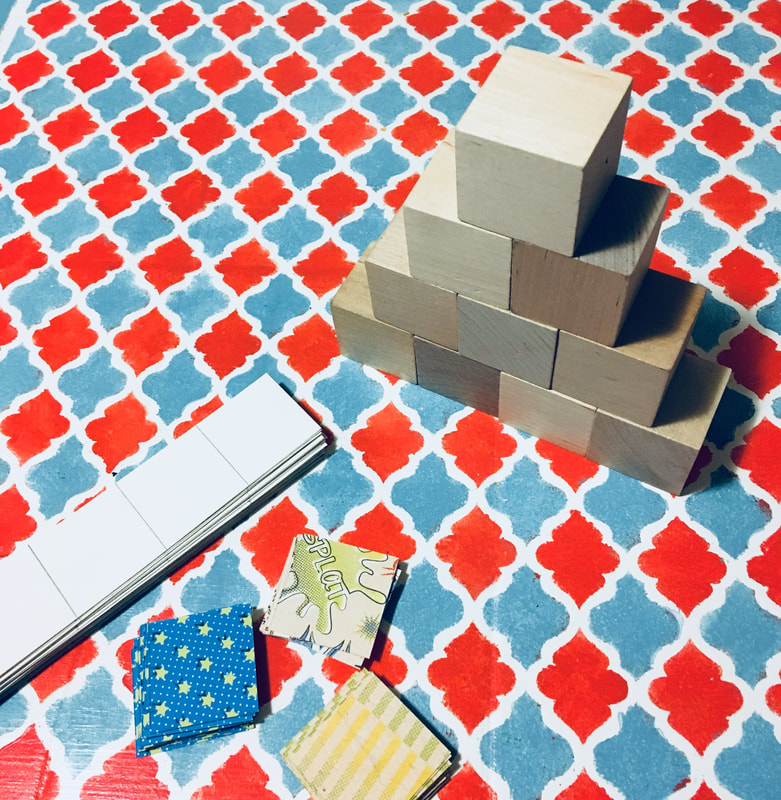
For this project, you will need: -10 1 1/2" wooden cubes -3 sheets of scrapbook paper (each with a different, but complimentary design) -Mod Podge -Paintbrush -Scissors/Paper cutter -Ruler -Pencil -Krylon Matte finishing spray (optional) For the wooden blocks themselves, there are a couple of ways you can get them. You can buy them on Amazon, this is what I got: Wooden Cubes (there are no affiliate links, just sharing the love). Or you can go to Home Depo/Lowes and order a 2x4 and have them cut it up for you, which is the cheaper option. The wooden cubes are $9, but the 2x4 would be much less. But seeing that the wooden cubes on Amazon were pre-sanded, I went ahead and bought ones that were already cut out. Ain't no mommy got time for sanding! The next thing you do is cut out your scrapbook paper. I went ahead and measured out the entire sheet of paper in 1 1/2"x1 1/2" squares. This was a mistake. I found out that I didn't want the paper to be the exact size of the face of the cube. I realized that would be much easier to peel off the paper if they were this size. So I ended up having to the cut them anyways as I was putting on Mod Podge. So suggest doing 1 1/4" x1 1/4" sqaures instead.
But here's how I cut them out. I measured it out and then cut it. I had a paper cutter help me do the job. So here's the problem with measuring and cutting it out this way, you have enough paper squares to make 40 blocks. I'm only making 10.... oh well, I can now make baby shower gifts!
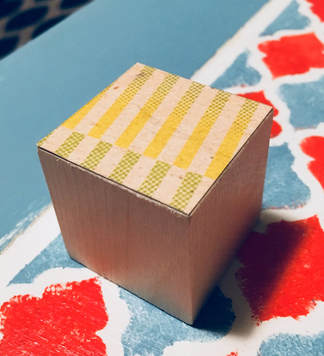
So now I'm all ready to podge the paper onto the block. I did it one color, one square at a time. I started off with green. Put one square on with a good amount of podge, rubbed it in, then flipped it over to the opposite side and did the same thing. Then I'd wait a minute or so for it so set in before I worked on the next color.
Then I did the second and third color, doing the same thing, until all the sides were completed. Then you set it to the side to dry. I waited a half hour after I finished all of the blocks before I started to put mod podge over the entire block.
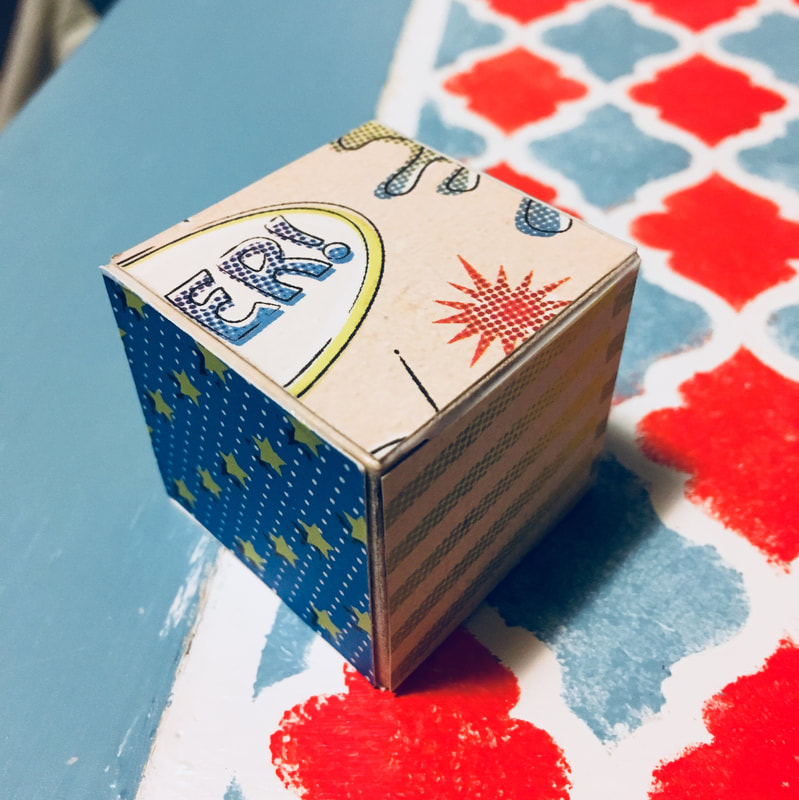
Next, you put the mod podge over the entire block. Here's how I did it: I covered one of the blue squares and the two green squares on the sides with the podge and let it dry. After I finished all of the blocks and waited about 10 minutes, I did the other blue square and the two comic book squares. Then I let those dry.
I put two coats on the blocks. 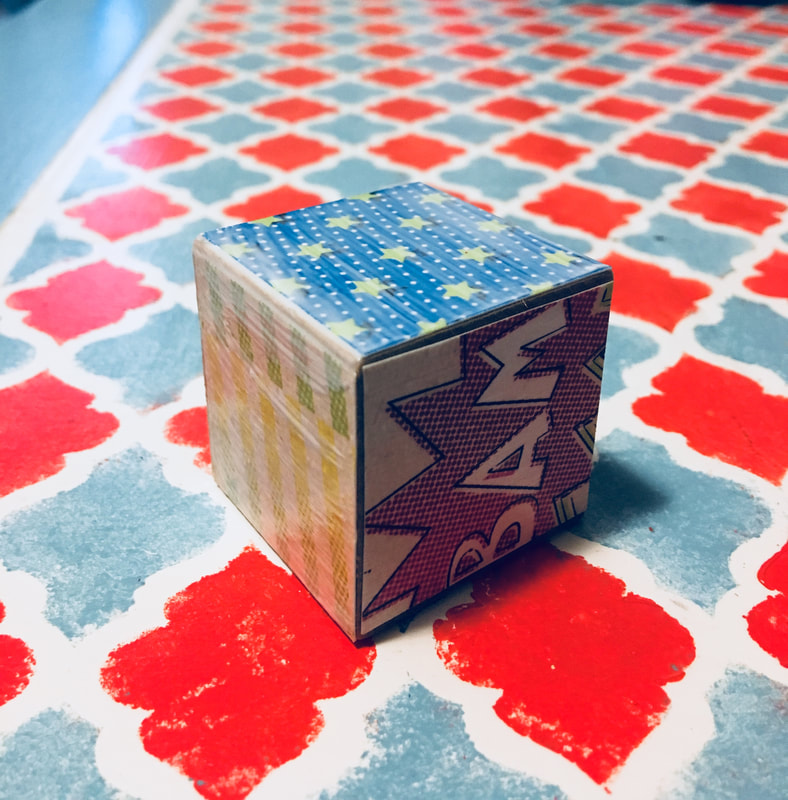
And there you have it. 10 super cute wooden blocks for your little one to enjoy. My baby loves to bang them together to make sounds. And so far, they have stayed in good condition.
In my research for this project, I found some with concerns about babies who chew on the blocks. So here's the thing about Mod Podge and babies. Mod Podge is non-toxic when it is dry. However, when babies chew on them for a while, the podge becomes gummy. You can spray Krylon Matte Finishing spray on them to prevent the blocks from becoming gummy. It will also be non-toxic when it's dry. If you've found that your baby doesn't really chew on them extensively, you don't need to do this step. 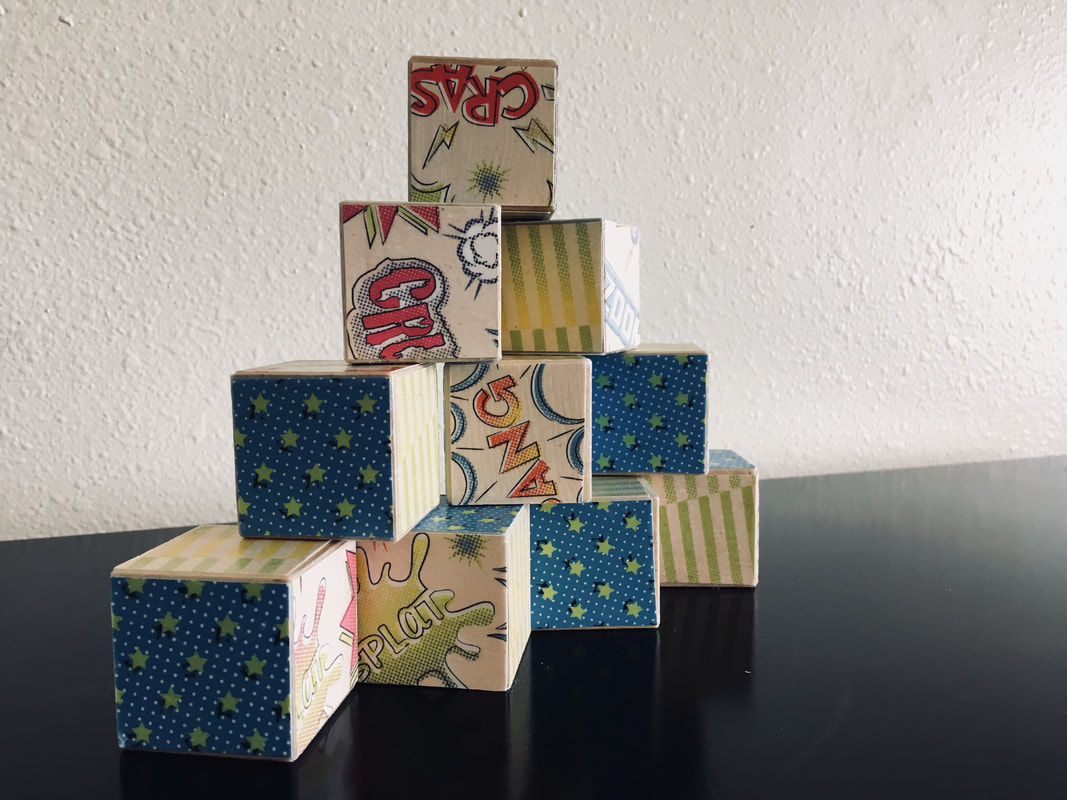
I love how these turned out! It was such a relaxing project. Thanks for reading. If you've enjoyed reading this, please subscribe to my email list. Or you can follow me on Facebook. See you next time!
0 Comments
Your comment will be posted after it is approved.
Leave a Reply. |
About Me
Hello! My name is Char. Thank you for visiting my blog, CallCrafts. I am a wife and mother who LOVES to make things. Read tutorials on crafts I've created to decorate my home, for parties, and more! Read more about me in My Story.
Categories
All
Archives
April 2018
Popular Posts |